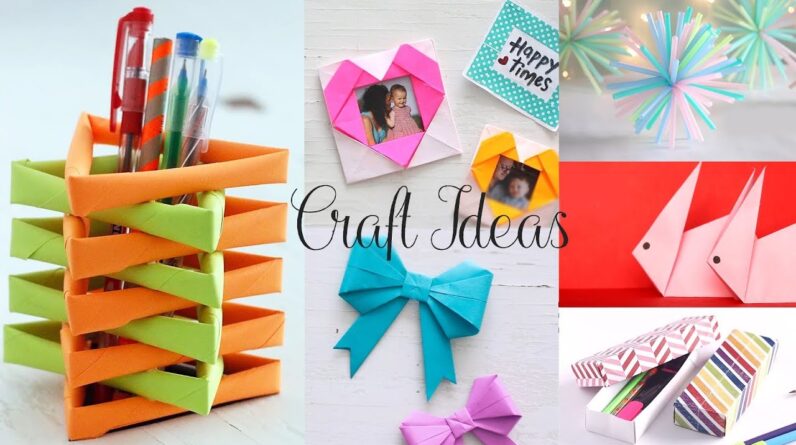
Hi there! Have you been looking for some fun and engaging crafts to do with your little ones? Well, look no further because in this article, we’ll be diving into 10 easy DIY crafts specifically designed for kindergarten-aged children.
With step-by-step tutorials and helpful tips, you’ll learn how to create adorable crafts that not only enhance your child’s creativity but also provide valuable learning experiences. From handprint animals to paper plate masks, there’s something for every child to enjoy. So, get ready to roll up your sleeves and embark on a crafting adventure with your kindergartener. Stay tuned to discover more in this exciting article!
Table of Contents
10 Easy DIY Crafts for Kindergarten
Crafts are a fantastic way to unleash your child’s creativity and keep them engaged. Whether it’s a rainy day or just a regular afternoon, these 10 easy DIY crafts for kindergarten are perfect for creating fun and exciting projects. With simple materials and step-by-step instructions, your child will be able to make their own masterpieces in no time. So, let’s dive into the world of crafting and see what magic we can create!
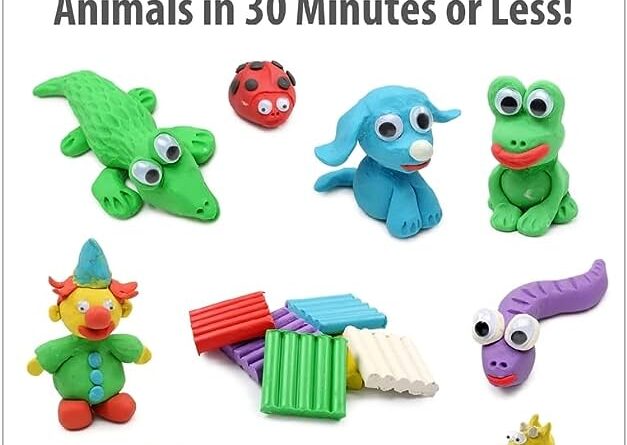
Craft 1: Paper Plate Animals
Materials needed:
- Paper plates
- Markers or crayons
- Scissors
- Glue
- Googly eyes (optional)
Step-by-step instructions:
- Take a paper plate and draw the outline of an animal of your choice, such as a lion, elephant, or giraffe.
- Color the animal using markers or crayons.
- Cut out any additional shapes needed to complete the animal, such as ears, a trunk, or a mane.
- Glue the additional shapes onto the paper plate.
- If desired, attach googly eyes to the animal’s face.
Tips and tricks:
- Encourage your child to be creative with their animal designs.
- Use different colored paper plates to add more variety to the crafts.
Craft 2: Popsicle Stick Puppets
Materials needed:
- Popsicle sticks
- Construction paper
- Markers or crayons
- Scissors
- Glue
Step-by-step instructions:
- Cut out simple shapes from construction paper, such as animals or people.
- Decorate the shapes using markers or crayons.
- Glue the shapes onto the popsicle sticks.
- Let the glue dry completely before playing with the puppets.
Tips and tricks:
- Encourage your child to create their own stories with the puppets.
- Add details to the puppets, such as googly eyes or yarn for hair.
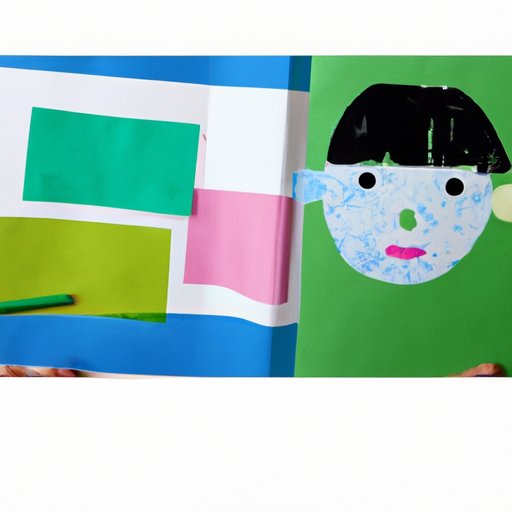
Craft 3: Handprint Flower Bouquet
Materials needed:
- Colored paper
- Pencil
- Scissors
- Glue
- Green pipe cleaners
Step-by-step instructions:
- Trace your child’s handprint on colored paper.
- Cut out multiple handprints to create flowers.
- Cut out stems and leaves from green paper.
- Arrange the handprint flowers on a separate sheet of paper and glue them down.
- Attach the stems to the flowers using glue or tape.
Tips and tricks:
- Use different colors for the handprints to create a colorful bouquet.
- Allow your child to experiment with different flower arrangements.
Craft 4: Recycled Bottle Planter
Materials needed:
- Empty plastic bottles
- Acrylic paint
- Paintbrushes
- Scissors
- Potting soil
- Seeds or small plants
Step-by-step instructions:
- Clean and dry the plastic bottles.
- Paint the bottles using acrylic paint.
- Let the paint dry completely.
- Cut a hole in the side of the bottle for planting.
- Fill the bottle with potting soil and plant seeds or small plants.
Tips and tricks:
- Decorate the bottles with fun designs or patterns.
- Use different-sized bottles to create a variety of planters.
Craft 5: Egg Carton Caterpillar
Materials needed:
- Egg cartons
- Acrylic paint or markers
- Pipe cleaners
- Googly eyes
- Glue
Step-by-step instructions:
- Cut out one section of the egg carton for the caterpillar’s body.
- Paint or color the egg carton section using acrylic paint or markers.
- Let the paint dry completely.
- Attach pipe cleaners to the top of the caterpillar’s body for antennas.
- Glue googly eyes onto the caterpillar’s face.
Tips and tricks:
- Use different colors for each section of the caterpillar’s body.
- Experiment with different pipe cleaner colors and shapes for the antennas.
Craft 6: Paper Roll Binoculars
Materials needed:
- Toilet paper or paper towel rolls
- Acrylic paint or markers
- Yarn or string
- Hole puncher
Step-by-step instructions:
- Paint or color the paper rolls using acrylic paint or markers.
- Let the paint dry completely.
- Punch a hole on each side of the paper rolls.
- Attach a piece of yarn or string to each hole to create a strap.
Tips and tricks:
- Encourage your child to decorate the binoculars with patterns or stickers.
- Take the binoculars on a nature walk and observe the environment.
Craft 7: Button Tree Art
Materials needed:
- Paper
- Glue
- Buttons of various colors and sizes
- Markers or crayons
Step-by-step instructions:
- Draw the outline of a tree on a sheet of paper using markers or crayons.
- Apply glue along the branches and trunk of the tree.
- Place buttons onto the glue to create leaves.
- Let the glue dry completely.
Tips and tricks:
- Use different colored buttons to add more visual interest to the tree.
- Create multiple button trees and hang them up as a beautiful display.
Craft 8: Sponge Painted T-Shirts
Materials needed:
- Plain white t-shirts
- Sponge
- Acrylic paint
- Paper plates
- Paintbrushes
Step-by-step instructions:
- Pour different colors of acrylic paint onto paper plates.
- Cut the sponge into various shapes, such as stars or circles.
- Dip the sponge into the paint and press it onto the t-shirt, creating patterns or designs.
- Let the paint dry completely.
Tips and tricks:
- Experiment with different sponge shapes and paint colors.
- Wear old clothes or use an apron to protect from paint splatters.
Craft 9: Yarn Wrapped Letters
Materials needed:
- Cardboard letters
- Yarn in various colors
- Glue
Step-by-step instructions:
- Apply glue to one side of the cardboard letter.
- Attach the end of the yarn to the glue.
- Wrap the yarn around the letter, covering the entire surface.
- Cut the yarn and secure the end with additional glue.
- Repeat the process for all the letters.
Tips and tricks:
- Use different colors of yarn to create vibrant and eye-catching letters.
- Display the yarn-wrapped letters on a bulletin board or wall.
Conclusion
In conclusion, these 10 easy DIY crafts for kindergarten are perfect for keeping your child engaged and exploring their creative side. From paper plate animals to yarn-wrapped letters, there is something for every child’s interest. Crafts not only provide them with an opportunity to create something beautiful, but they also help develop their fine motor skills and problem-solving abilities. So, gather the necessary materials and embark on a crafting adventure with your little one today!
Remember, the most important thing is to have fun and enjoy the process of creating together. Happy crafting!


