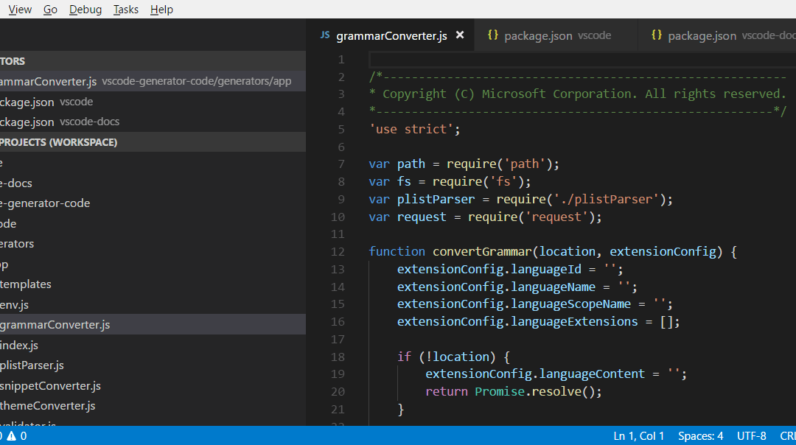
In this article, you will learn a step-by-step guide on how to create a VS Code workspace. We will walk you through the process, from setting up the workspace to customizing it to suit your needs. By the end of this article, you will have a clear understanding of how to organize your code projects efficiently using VS Code workspaces. So let’s get started and enhance your coding experience with this powerful feature!
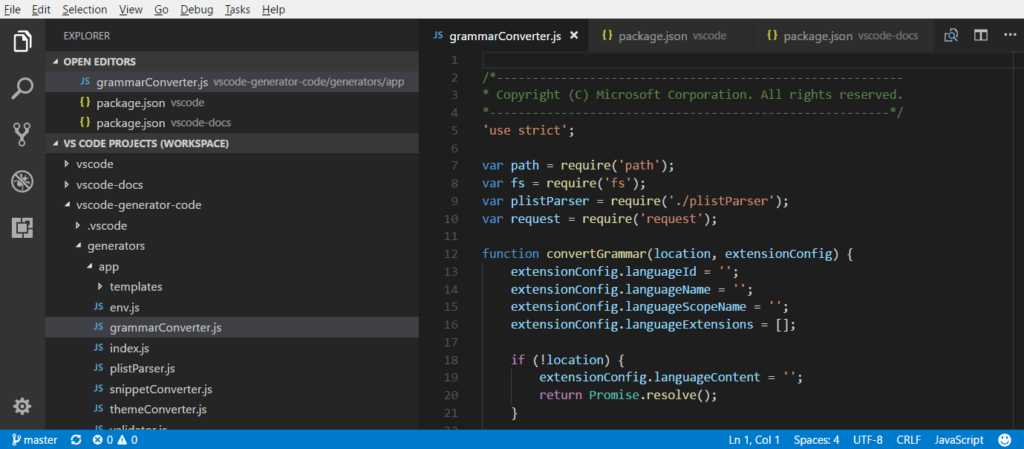
Table of Contents
A Step-by-Step Guide to Creating a VS Code Workspace
If you’re a developer or a coding enthusiast, chances are you’ve come across Visual Studio Code (VS Code) as your go-to code editor. VS Code is a powerful and versatile tool that provides a seamless development experience. One of its standout features is the ability to create and work within a workspace. In this guide, we’ll walk you through the process of creating a VS Code workspace, customizing its settings, utilizing extensions, and collaborating with team members.
Opening VS Code
To get started with creating a VS Code workspace, the first step is to open the application. Locate the VS Code icon on your desktop or start menu and click on it to initiate the launch process. Once VS Code is up and running, you’ll be greeted with a welcoming user interface that’s designed to be intuitive and clean.
Navigating the User Interface
The VS Code user interface is divided into several key areas, including the Activity Bar, Side Bar, Editor Group, and Status Bar. The Activity Bar, located on the far left-hand side, provides quick access to various functionalities like Explorer, Source Control, and Extensions. The Side Bar, located on the left-hand side, displays the file and folder structure of your project. The Editor Group in the center is where you’ll be writing and editing your code. Finally, the Status Bar, located at the bottom, gives you important information about the current state of your workspace.
Choosing a Project Folder
Before creating a new workspace, you need to choose a project folder. This folder will contain all the files and resources related to your project. To select a project folder, navigate to the File menu in the top left corner of the VS Code window and click on “Open Folder.” Browse to the desired location on your computer and click “Open” to add it as your project folder.
Creating a New Workspace
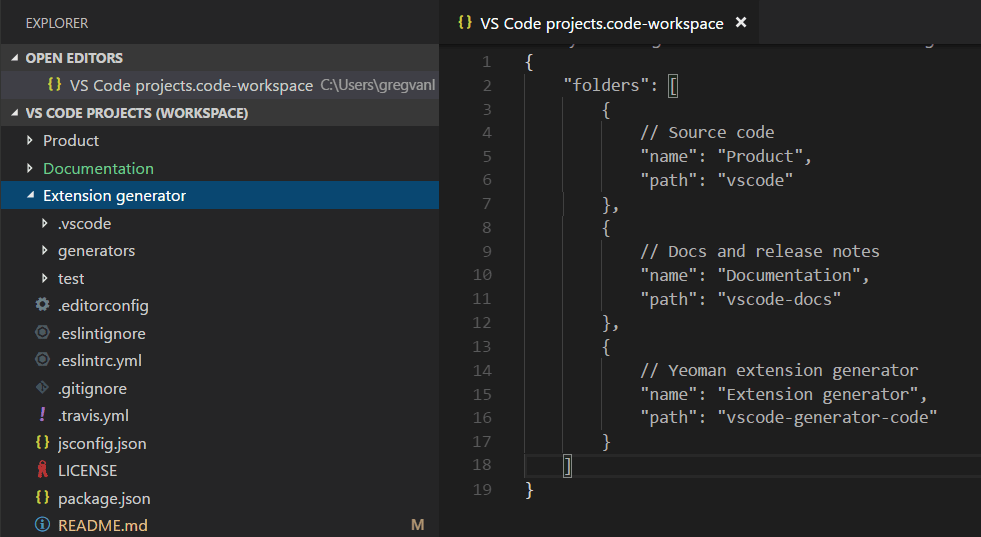
Once you have your project folder set up, it’s time to create a new workspace. A workspace is essentially a collection of related projects and files that you want to work on simultaneously. It allows you to manage different projects within a single VS Code window.
Accessing Workspace Menu
To access the workspace menu, navigate to the File menu and click on “Open Workspace.” This will open a dropdown menu with various options related to workspaces.
Selecting ‘New Workspace’
From the workspace menu, select “New Workspace.” This will prompt you to choose a location to save your workspace file. It’s recommended to save it within your project folder for easy organization and accessibility.
Specifying the Workspace Folder
After selecting the location to save your workspace file, you’ll be prompted to specify the workspace folder. This is the folder within your project folder that you want to include in your workspace. You can choose an existing folder or create a new one specifically for your workspace. Once you’ve selected or created the workspace folder, click “Add” to finalize the creation of your new workspace.
Customizing Workspace Settings
Now that you have your workspace set up, it’s time to customize its settings to fit your preferences. VS Code allows you to modify various aspects such as editor preferences, theme, and installed extensions.
Opening Workspace Settings
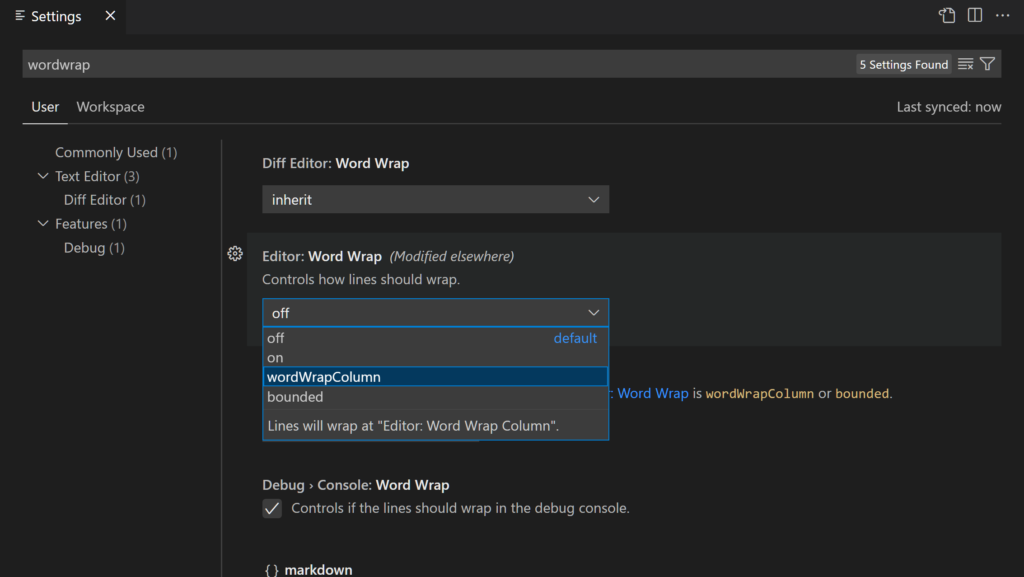
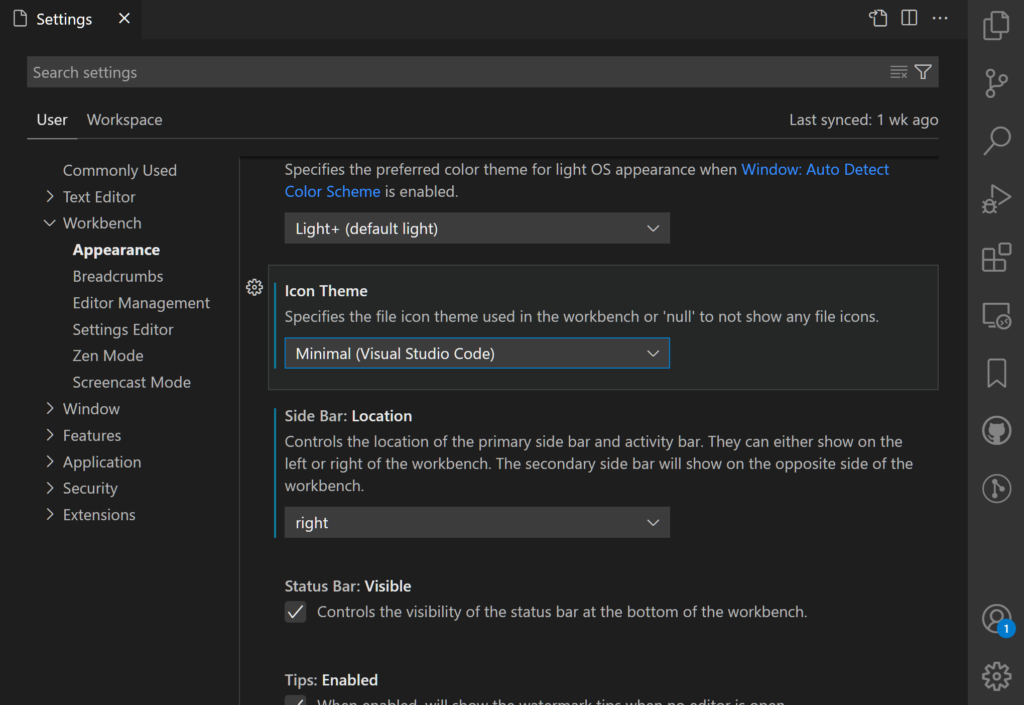
To access the workspace settings, click on the gear icon in the lower-left corner of the VS Code window to open the settings menu. From the settings menu, select “Settings” to open the settings tab.
Modifying Editor Preferences
In the settings tab, you can modify the editor preferences to suit your coding style. You can adjust options like tab size, indentation, font family, and many others. Simply navigate through the various options and modify them according to your preferences. These settings will be specific to your workspace, ensuring a consistent coding experience.
Adding Extensions
Extensions are a great way to enhance the functionality and capabilities of your workspace. To add extensions to your workspace, click on the square icon in the left-hand sidebar (Extensions), which will open the Extensions view. Here, you can search for and install various extensions depending on your needs. Consider exploring popular and essential extensions like Live Server, IntelliSense, and GitLens to boost your productivity.
Configuring Workspace Tasks
With your workspace customized to your liking, it’s time to delve into configuring workspace tasks. Tasks in VS Code allow you to automate various processes and streamline your workflow.
Accessing Tasks Menu
To access the tasks menu, navigate to the Terminal menu and click on “Run Task.” This will display a dropdown menu with available tasks and configuration options.
Creating a Task File
If you want to create a custom task, you’ll need to define it in a task configuration file. To create a task file, navigate to the Terminal menu and click on “Configure Tasks.” From the dropdown menu, select “Create tasks.json file from template” and choose the template that best fits your task requirements.
Defining Task Commands
Once you have your task file open, you can define the commands and actions you want to execute. VS Code supports various types of tasks, such as shell commands, process executions, and even integrating external build systems. Customize the commands and arguments in the task file to match your project needs. Be sure to save the task file when you’re done so that the changes take effect.
Using Source Control in Workspace
Version control is an essential aspect of software development, and with a VS Code workspace, you have built-in support for popular version control systems like Git.
Initializing Git Repository
To initialize a Git repository within your workspace, navigate to the Source Control menu, denoted by the blue infinity icon in the Activity Bar. Click on the icon to open the Source Control view. From the view, click on the three-dots icon, then select “Initialize Repository.” Confirm the location of your repository by selecting the workspace folder where your project resides.
Managing Changes with Git
Once your repository is initialized, you can start managing changes to your project using Git. The Source Control view will display any modified, added, or deleted files in your workspace. You can stage specific files or all changes by clicking on the “+” icon next to each file or using the “Stage All Changes” button. Commit your changes with a meaningful message to record the progress of your project.
Syncing with Remote Repositories
To sync your local repository with a remote repository on platforms like GitHub or GitLab, you can use the Source Control view or the VS Code integrated terminal. Push your commits to the remote repository to keep your codebase up to date and collaborate with team members effectively.
Working with Multiple Editors
VS Code allows you to work with multiple editors simultaneously, making it easier to navigate and edit different files within your workspace.
Splitting Editors
To split the editor, right-click on a file tab and select the split options available. You can choose to split vertically or horizontally, depending on your preference. This allows you to view and edit multiple files side by side.
Navigating Between Editors
To navigate between different editors, you can use shortcuts like Ctrl + 1, Ctrl + 2, and so on. Alternatively, you can also use the editor dropdown menu located at the top of the VS Code window. This allows for quick and seamless navigation between different files and editors.
Customizing Editor Layout
VS Code offers various layout options to customize the arrangement of your editors. You can choose between different column layouts, toggle the sidebar visibility, and more. To access the layout options, navigate to the View menu and select “Editor Layout.” Experiment with different layouts to find the one that suits your workflow best.
Utilizing Workspace Extensions
One of the strengths of VS Code is its vast extension ecosystem, providing additional tools and functionalities for various programming languages and development workflows. Here’s how you can make the most out of workspace extensions.
Browsing the Extension Marketplace
To browse and install extensions, click on the square icon in the left-hand sidebar (Extensions), which will open the Extensions view. From here, you can search for extensions using keywords, explore curated lists, and filter by category. Take the time to browse the marketplace and discover extensions that can enhance your workspace.
Installing Essential Workspace Extensions
While the choice of extensions depends on your specific needs, there are a few essential extensions that most developers find useful. Some popular examples include the Live Server extension for web development, IntelliSense for intelligent code suggestions, and GitLens for enhanced Git integration. Explore the marketplace and install extensions that align with your development requirements.
Configuring Extension Settings
After installing extensions, you can further customize their settings to tailor them to your needs. Most extensions provide settings that can be modified in the settings tab. Explore the extension settings and adjust them according to your preferences. This allows you to fine-tune the behavior of each extension in your workspace.
Sharing and Collaborating on Workspaces
Collaboration is a crucial aspect of software development, and VS Code makes it easy to share your workspace with team members and work together seamlessly.
Creating a Shared Workspace
To create a shared workspace, navigate to the Source Control menu and click on the three-dots icon. From the dropdown menu, select “Share Workspace.” This will create a shared workspace file that you can distribute to your team members.
Inviting Team Members
Share the workspace file with your team members, and instruct them to open it using VS Code. This will allow everyone to access and work on the same set of files simultaneously. Changes made by each team member will be reflected in real-time, making collaboration smooth and efficient.
Managing Collaborative Features
VS Code offers several collaborative features, such as live sharing and real-time editing, that can further enhance teamwork within a shared workspace. Experiment with these features and explore how they can improve your collaborative workflow. Be sure to communicate and coordinate effectively with your team members to avoid conflicts and ensure a smooth development process.
Troubleshooting Workspace Issues
Like any software tool, you may encounter issues while working with a VS Code workspace. Here’s how you can troubleshoot common problems and keep your workspace running smoothly.
Identifying Common Workspace Problems
Some common workspace problems include slow performance, extension conflicts, syntax errors, or version control issues. If you experience any of these issues, don’t worry. We’ll walk you through some solutions to help you get back on track.
Resolving Workspace Errors
For performance issues, close unnecessary editors and extensions to free up system resources. For extension conflicts, try disabling or removing any extensions that may be causing conflicts. If you encounter syntax errors, carefully review your code and check for any typos or missing semicolons. For version control issues, double-check your Git configuration and ensure you have the necessary permissions to interact with the remote repository.
Updating Dependencies
Outdated dependencies can sometimes cause compatibility issues and errors within your workspace. To update your dependencies, navigate to the Terminal menu and open the integrated terminal. From the terminal, run the necessary commands to update your project dependencies. Be sure to follow best practices for dependency management and consult the official documentation for each specific dependency.
Conclusion
Congratulations! You’ve learned the step-by-step process of creating a VS Code workspace, customizing its settings, utilizing extensions, and collaborating with team members. By following this guide, you are well on your way to harnessing the full power of VS Code and maximizing your productivity as a developer. Remember to experiment, explore, and continuously improve your workspace to suit your unique needs and coding style. Happy coding!
