In this beginner’s guide to creating with polymer clay, you will learn the basics of working with this versatile material. We will cover the step-by-step process of creating beautiful clay creations, from selecting the right tools and materials to baking and finishing your masterpieces. Whether you’re a complete beginner or have some experience, this article will provide helpful tips and techniques to enhance your artistic journey with polymer clay. Let’s get started on this exciting artistic adventure together!
Table of Contents
Beginner’s Guide to Creating with Polymer Clay
Introduction to Polymer Clay
Polymer clay is a versatile and popular medium used by artists and crafters to create beautiful and intricate designs. Whether you’re a beginner or an experienced artist, polymer clay offers endless possibilities for your creative projects. In this beginner’s guide, you will learn everything you need to know to get started with polymer clay.
What is polymer clay?
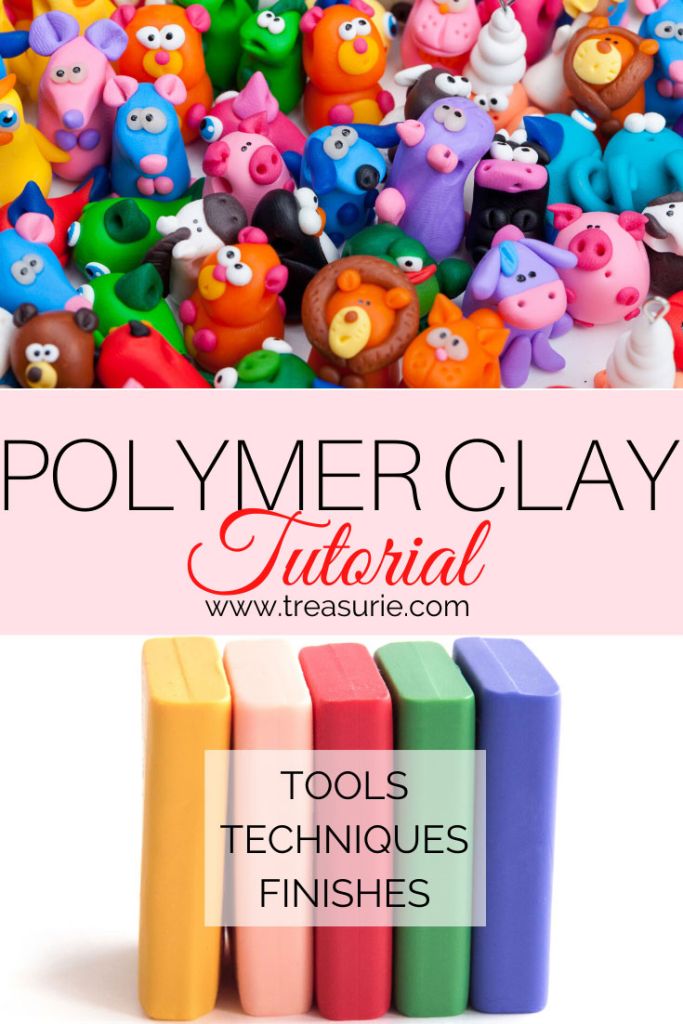
Polymer clay is a type of modeling clay that is made primarily from PVC (polyvinyl chloride) particles mixed with a plasticizer. This combination gives the clay a soft and malleable texture, making it easy to shape and form. It is available in various colors and can be blended together to create custom shades.
How is it different from other clays?
Unlike traditional clays, polymer clay does not air dry or harden naturally. It requires heat curing to set and become solid. This process involves baking the clay in an oven at a specific temperature for a specific amount of time. Once cured, polymer clay becomes durable and resistant to breakage.
Benefits of working with polymer clay
There are several advantages to working with polymer clay. Firstly, it is incredibly versatile and can be used to create a wide range of projects, including jewelry, figurines, and home decor items. Secondly, polymer clay is available in a vast array of vibrant colors, allowing you to bring your artistic vision to life. Additionally, it is relatively inexpensive and readily available, making it a cost-effective choice for beginners. Lastly, polymer clay is non-toxic and safe to use, making it suitable for artists of all ages.
Choosing and Preparing Polymer Clay
Before diving into your polymer clay projects, it’s important to understand the different types and brands of clay available, as well as how to prepare the clay for use.
Different types and brands of polymer clay
There are numerous brands of polymer clay on the market, each with its own unique characteristics. Some popular brands include Fimo, Sculpey, and Cernit. It’s worth experimenting with different brands to find the one that suits your preferences and needs. Additionally, there are specialty clays available, such as translucent clay or metallic clay, which can add interesting elements to your creations.
Understanding the color options
Polymer clay comes in a wide range of vibrant colors, offering endless possibilities for your projects. You can choose to work with a single color or mix different colors together to create custom shades. It’s helpful to have a color chart or color wheel on hand to guide you in your color choices and mixtures.
Conditioning and softening the clay
Before you can begin working with polymer clay, it needs to be conditioned and softened. Conditioning involves kneading the clay to warm it up and make it pliable. This process helps to remove air bubbles and ensures that the clay is easy to work with. You can use your hands or a dedicated clay conditioning machine to soften the clay. It’s important to note that different brands of clay have different required conditioning times, so refer to the manufacturer’s instructions for guidance.
Tools and materials required
To work with polymer clay, you will need a few essential tools and materials. These include a work surface (such as a sheet of glass or acrylic), a roller or pasta machine for flatting the clay, cutting tools (such as blades or cookie cutters), sculpting tools for adding texture and details, and baking supplies (such as an oven thermometer and a baking surface).

Basic Techniques in Polymer Clay
Once you have your clay prepared, it’s time to learn some basic techniques that will form the foundation of your polymer clay creations.
Rolling and shaping the clay
One of the first techniques to master is rolling and shaping the clay. Start by flattening the clay using a roller or pasta machine, ensuring it is of an even thickness. From there, you can use cookie cutters or templates to create simple shapes or use your hands to mold the clay into various forms.
Creating simple shapes and forms
Building on the rolling and shaping technique, you can create more intricate shapes and forms by combining and manipulating the clay. Experiment with blending different colors together or layering thin sheets of clay to add depth and dimension to your designs.
Adding texture and details
Texture and details can elevate your polymer clay creations to the next level. There are numerous ways to add texture, including using texture sheets, stamps, or even everyday objects like toothbrushes or sponges. Additionally, you can use sculpting tools to precisely carve out details or create patterns on the clay’s surface.
Blending and layering colors
One of the unique qualities of polymer clay is its ability to blend and layer colors seamlessly. Experiment with different color combinations to create gradients, mosaics, or unique patterns. You can achieve blending by smudging, rolling, or “stacking” thin sheets of clay.
Exploring Advanced Techniques
Once you have mastered the basic techniques, you can start exploring more advanced techniques to take your polymer clay creations to the next level.
Caning and millefiori
Caning and millefiori techniques involve creating intricate patterns or designs by layering and manipulating thin slices of clay. These techniques are often used to create polymer clay beads or complex jewelry components. The possibilities are endless, and the precise results can be truly awe-inspiring.
Making intricate patterns and designs
Incorporate advanced techniques such as Skinner blends, image transfers, or sculpting techniques to add intricate patterns and designs to your polymer clay projects. These techniques allow you to create highly detailed and realistic effects that will make your creations stand out.
Creating realistic textures
Polymer clay can be used to create realistic textures that mimic various materials such as wood, stone, or even fabric. Experiment with different sculpting tools and techniques, such as impressing or carving, to achieve lifelike textures in your clay creations.
Transferring images onto polymer clay
If you want to add a personal touch to your polymer clay creations, consider learning how to transfer images onto the clay’s surface. This technique allows you to incorporate photographs, illustrations, or even text into your clay designs. It’s a great way to personalize your projects or add storytelling elements to your artwork.
Firing and Curing
The firing and curing process is essential to ensure that your polymer clay creations become solid, durable, and ready for use.
Understanding the baking process
To cure polymer clay, you need to bake it in an oven. It’s important to use a dedicated oven for polymer clay and not your regular kitchen oven to avoid any potential contamination. Follow the manufacturer’s instructions for the recommended temperature and baking time based on the thickness of your clay. Proper curing ensures that the clay hardens completely and reaches its maximum strength.
Temperature and time guidelines
The baking temperature and time can vary depending on the brand and thickness of the clay, so always refer to the manufacturer’s instructions for specific guidelines. As a general rule, bake the clay at a low temperature (usually between 230-275°F or 110-135°C) for an extended period of time, typically around 30 minutes per 1/4 inch (6mm) of thickness.
Avoiding common problems and mistakes
While the baking process may seem straightforward, there are a few common problems and mistakes to avoid. Overbaking can lead to the clay becoming brittle or burnt, while underbaking can result in a weak or flexible finished product. It’s also essential to monitor the temperature of your oven with an oven thermometer to ensure accuracy.
Finishing and Polishing
Once your polymer clay creations are cured, it’s time to add the finishing touches that will enhance their appearance and durability.
Sanding and smoothing the clay
To achieve a professional finish, sanding and smoothing the clay is essential. Start with a coarse grit sandpaper to remove any rough edges or imperfections, then gradually move to finer grits for a smooth and polished surface. You can also use sanding sponges or nail buffing blocks to achieve a glossy finish.
Applying a glossy or matte finish
After sanding, you can choose to apply a glossy or matte finish to your polymer clay creations, depending on the desired effect. There are several options available, including varnishes, glazes, or liquid polymer clay. Apply the chosen finish with a soft brush, following the manufacturer’s instructions, and allow it to dry completely before handling the finished piece.
Adding surface treatments like antiquing or glazing
For an added touch of depth and character, consider using surface treatments such as antiquing or glazing. Antiquing involves applying a dark paint or ink to the recessed areas of your clay design, then wiping away the excess to create an aged or weathered effect. Glazing, on the other hand, involves adding a layer of transparent or translucent coating to create a glossy or shiny finish.

Assembling and Incorporating Polymer Clay
Polymer clay can be used to create standalone masterpieces or incorporated into larger projects and mediums.
Creating jewelry with polymer clay
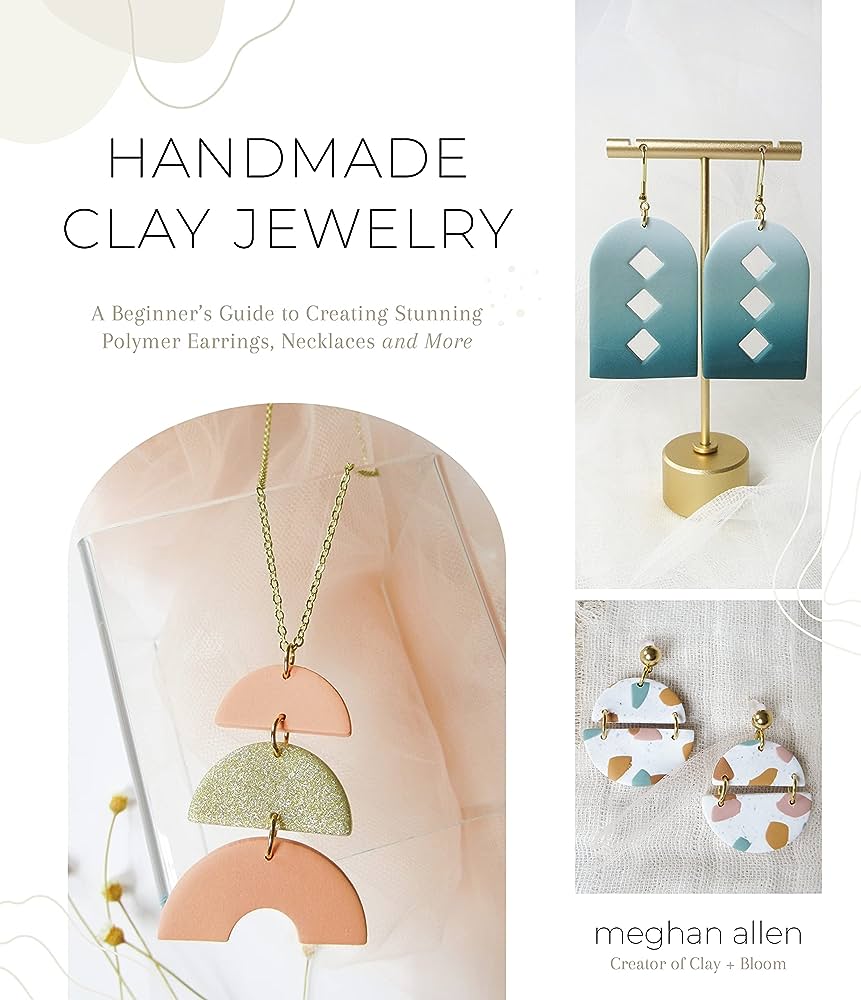
One of the most popular uses for polymer clay is in the creation of unique and personalized jewelry pieces. From earrings and pendants to statement necklaces and bracelets, polymer clay allows you to design and craft wearable pieces of art. Explore techniques such as bead making, caning, or wire wrapping to create one-of-a-kind jewelry designs.
Making miniatures and figurines
Another exciting application of polymer clay is in the creation of miniatures and figurines. Whether you’re interested in dollhouse accessories, miniature food, or cute character figurines, polymer clay is an ideal medium for bringing these tiny creations to life. Let your imagination run wild as you experiment with different sculpting techniques and details.
Using polymer clay in mixed media projects
Polymer clay can be seamlessly integrated into mixed media projects, allowing you to combine it with other materials such as wood, metal, or fabric. Explore collages, wall art, or even functional objects like keychains or home decor items. The versatility of polymer clay makes it an excellent choice for experimenting with different mediums and techniques.
Troubleshooting and Tips
Even the most experienced polymer clay artists encounter challenges along the way. Here are some troubleshooting tips to help you overcome common issues.
Dealing with cracks and breakages
Cracks and breakages can occur if the clay is not properly conditioned or if it is exposed to sudden temperature changes. To prevent cracks, ensure that the clay is thoroughly conditioned and avoid working with thicknesses that exceed the recommended guidelines. Additionally, be mindful of handling the cured clay gently to avoid breakages.
Avoiding fingerprints and smudges
Fingerprints and smudges on your polymer clay creations can ruin the final finish. To avoid this, always work with clean hands or wear latex gloves. If fingerprints do appear, you can try gently buffing the affected area with fine grit sandpaper or using a clay softener to smooth out the surface.
Storing and preserving your polymer clay creations
To ensure the longevity of your polymer clay creations, proper storage is essential. Keep them away from direct sunlight and extreme temperatures, as these can cause the clay to become brittle or fade in color. It’s also a good idea to store finished pieces in airtight containers or bags to protect them from dust and moisture.
Inspiration and Project Ideas
Feeling inspired? Here are some ideas to get you started on your polymer clay journey.
Exploring different styles and themes
Polymer clay projects can be influenced by various artistic styles and themes. Experiment with different aesthetics – from minimalistic and modern to bohemian and whimsical – to find your unique style. Incorporate personal interests or elements from nature and art to infuse your creations with meaning and personality.
Finding inspiration in nature and art
Nature and art are abundant sources of inspiration for polymer clay artists. Take a walk in nature, visit museums or art galleries, and observe the intricate beauty that surrounds you. Pay attention to colors, textures, and patterns, and let them inspire your next polymer clay masterpiece.
Step-by-step guides for beginner projects
If you’re just starting out, beginner-friendly projects can help build your skills and confidence. Look for step-by-step guides or tutorials online or in craft books to create simple items like earrings, charms, or small figurines. These projects will introduce you to various techniques and give you a solid foundation to build upon.
Conclusion
Congratulations on completing this beginner’s guide to creating with polymer clay! With the knowledge and techniques you’ve gained, you are now equipped to bring your creative vision to life. Remember to experiment, stay curious, and most importantly, have fun on your polymer clay journey. Happy creating!
