Have you ever dreamed of having a beautiful deck where you can relax and enjoy the outdoors? Well, today is your lucky day because we’re here to guide you through the step-by-step process of building your dream deck! So, whether you’re a seasoned DIY enthusiast or a beginner with little to no experience, fear not! We’ve got you covered.
In this article, we’ll provide you with all the detailed information you need to know to successfully build your dream deck. From planning and design to choosing the right materials and tools, we’ve got the whole process covered. We’ll even give you some tips and tricks to make the construction process easier and more efficient. There’s no need to hire a professional when you can do it yourself! So, sit back, relax, and get ready to embark on this exciting journey of building your very own deck. By the end of this article, you’ll have all the knowledge and confidence you need to turn your dream into a reality!
Table of Contents
Building Your Dream Deck: A Step-by-Step Guide
Building a deck is a great way to enhance your outdoor living space and create a beautiful place for relaxation and entertainment. Whether you’re an experienced DIY enthusiast or a beginner, this step-by-step guide will walk you through the process of building your dream deck. From choosing the perfect location to adding the finishing touches, we’ve got you covered. So grab your tools and get ready to start building!
Building Your Dream Deck : Choosing the Perfect Location
Before you start building your deck, it’s important to choose the perfect location. There are a few factors you should consider when evaluating your backyard space. First, take a look at the size and shape of your backyard. Consider any obstacles, such as trees, existing structures, or uneven terrain that may affect the layout and design of your deck.
In addition to evaluating your backyard space, it’s also important to consider sun exposure and wind patterns. Take note of where the sun rises and sets throughout the day and how it affects different areas of your backyard. You’ll want to choose a location that offers a good balance of shade and sunlight.
Similarly, consider the prevailing wind patterns in your area. You’ll want to avoid building your deck in an area that is constantly exposed to strong winds. Not only will this make your deck less enjoyable to use, but it can also affect the structural stability of your deck.
Designing Your Dream Deck
Once you’ve chosen the perfect location for your deck, it’s time to start designing your dream deck. The first step is to determine the size and shape of your deck. Consider how you plan to use your deck and what activities you’ll be doing on it. This will help you determine the optimal size and shape for your deck.
Next, you’ll need to decide on the materials for your deck. Wood, composite, and PVC are the most popular choices for deck materials. Each has its own advantages and disadvantages, so make sure to do your research and choose the one that best fits your needs and budget.
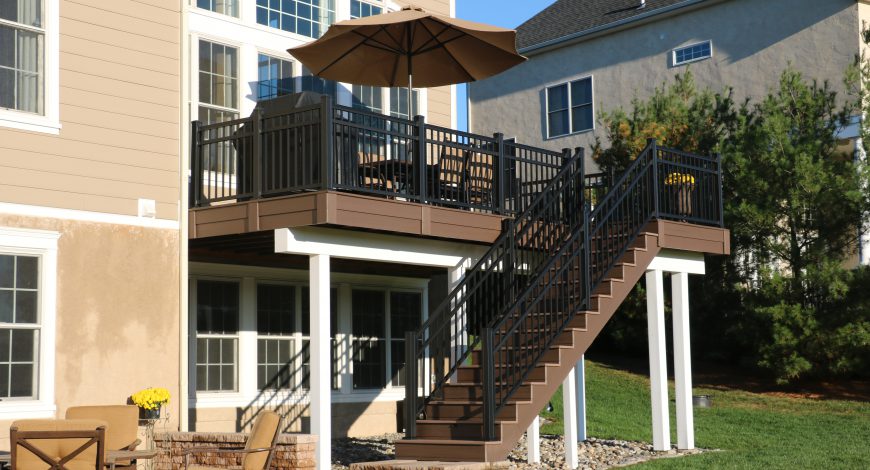
In addition to choosing the materials, you’ll also need to select a railing style for your deck. The railing not only adds safety but also adds to the overall look and feel of your deck. There are many different railing styles to choose from, so take your time and find one that complements your deck design.

Getting the Necessary Permits
Before you can start building your deck, you’ll need to research local building codes and obtain the necessary permits and inspections. Building codes vary from one area to another, so it’s important to familiarize yourself with the specific regulations in your area.
Start by contacting your local building department to find out what permits are required for deck construction. They will be able to provide you with the necessary information and guide you through the process of obtaining the permits.
Once you have the permits, make sure to schedule inspections at the appropriate stages of construction. Inspections ensure that your deck is built safely and to code, so don’t skip this step.
Preparing the Construction Site
With the necessary permits in hand, it’s time to prepare the construction site. Start by clearing the area of any obstacles such as rocks, stumps, or plants. This will ensure a clean and level surface for your deck.
Once the area is cleared, it’s a good idea to mark the deck layout using stakes and string. This will help you visualize the size and shape of your deck and ensure that everything is properly aligned.

Excavating and Leveling
The next step is to excavate the area and level the ground where your deck will be built. Start by digging post holes to the proper depth, according to local building codes and the size of your deck. Use a post hole digger or an auger to make the job easier.
After digging the post holes, it’s important to check for levelness using a string level. This will ensure that your deck is level and stable. Make any necessary adjustments to the ground by adding or removing soil until it is level.
Building the Foundation
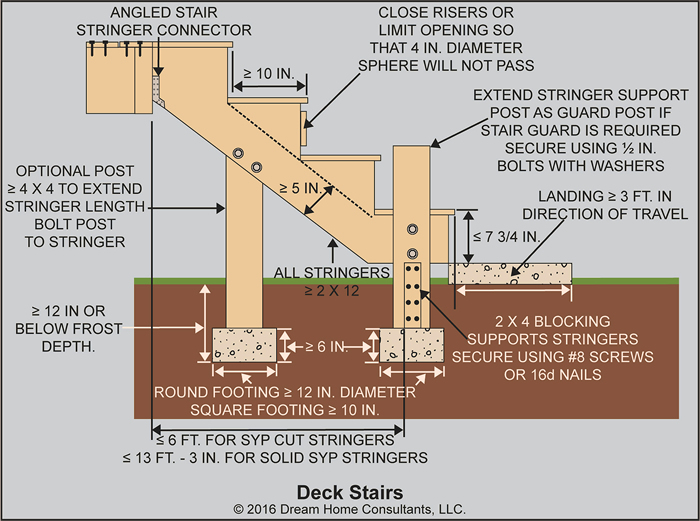
Once the ground is leveled, it’s time to start building the foundation of your deck. This is an important step, as it provides support for the entire structure. Start by creating concrete footings for the support posts. Follow the specific instructions provided by the manufacturer or consult a professional for guidance.
After the concrete footings are in place, install post anchors. These anchors will secure the support posts to the footings and provide additional stability. Make sure to follow the manufacturer’s instructions and use the recommended hardware for your specific deck design.

Installing the Ledger Board
The ledger board is an important component of your deck as it will be attached to the house. Start by determining the proper height and position of the ledger board. Use a level to ensure that it is straight and level.
Next, attach the ledger board to the house using lag screws or through-bolts. Make sure to follow the manufacturer’s instructions and use the recommended hardware. It’s also important to ensure proper flashing and sealing to prevent water damage and rot.
Assembling the Deck Structure
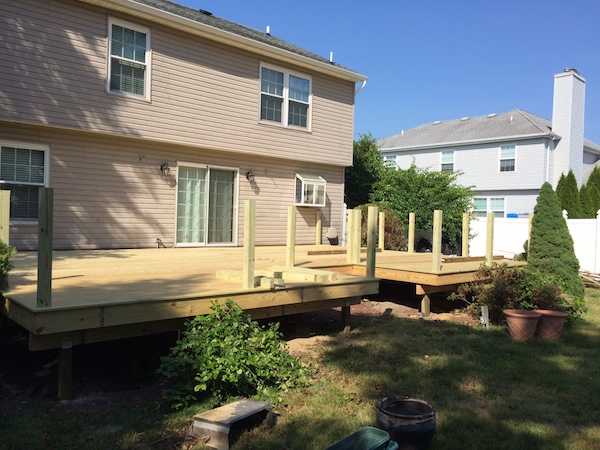
With the foundation and ledger board in place, it’s time to start assembling the deck structure. Start by attaching rim joists and beams to the support posts. Follow the specific instructions provided by the manufacturer or consult a professional for guidance.
Once the rim joists and beams are in place, install the joists and blocking. Joists provide support for the decking boards and ensure that the deck is structurally sound. Blocking helps to strengthen the deck and prevent sagging or warping over time.

Adding the Decking Boards
The final step in building your dream deck is to add the decking boards. Before you start, decide on the board orientation – whether you want them to be parallel or diagonal to the house. This will affect the overall look and feel of your deck.
Once you’ve decided on the board orientation, secure the boards to the joists using screws or hidden fasteners. Make sure to follow the manufacturer’s recommendations and spacing guidelines for your specific decking material.
Conclusion
Congratulations! You’ve successfully built your dream deck. Now it’s time to sit back, relax, and enjoy all the benefits of your new outdoor living space. Remember to take care of your deck by regularly cleaning and maintaining it to ensure its longevity. With proper care, your deck will continue to bring joy and entertainment for many years to come. Happy decking!


