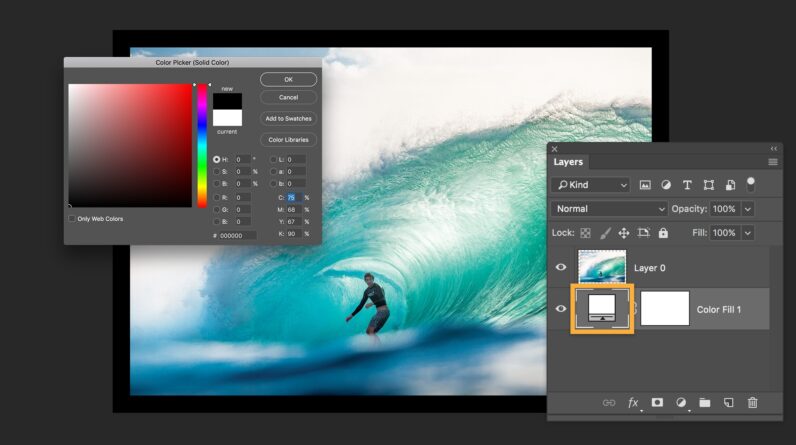
In this article, you will learn a simple yet effective technique for creating a border around an image in Photoshop. By using this method, you will be able to enhance the appearance of your images and make them stand out. Whether you are a beginner or an experienced user, this step-by-step guide will help you achieve professional-looking results.
To create a border around your image in Photoshop, first, open your image in the software. Then, select the “Rectangular Marquee Tool” from the toolbar on the left and drag a rectangle around your image, leaving a small space between the selection and the edges of the image. Next, go to the “Edit” menu, choose “Stroke”, and a dialog box will appear. Here, you can adjust the stroke width, color, and position to customize your border. Finally, click “OK” and your image will now have a neat and stylish border.
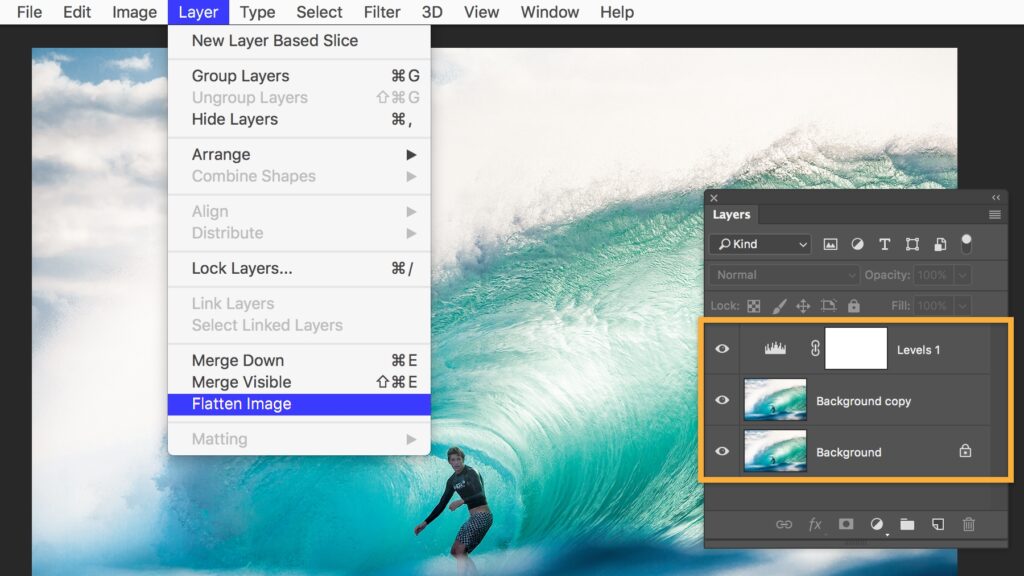
Table of Contents
Introduction
Adding a border around an image can significantly enhance its visual appeal and impact. Whether you are a professional photographer looking to give your images a polished finish or an amateur enthusiast aiming to add some creativity to your photos, learning how to create a border around an image in Photoshop can be a valuable skill to have. In this article, we will explore the importance of borders in images, provide an overview of the process in Photoshop, discuss the benefits of adding borders, and guide you through the entire process step by step.
Understanding the Importance of Borders in Images
Borders serve multiple purposes when it comes to images. First and foremost, they help define the boundaries of the image, separating it from its surroundings. This can be particularly useful when the image is displayed on a website or in a gallery, as it allows the viewer to focus solely on the image itself.
Additionally, borders can help draw attention to the subject of the image by providing a visual frame. They can help create a sense of depth and dimension, giving the image a more polished and professional look. Borders can also be used to complement the overall composition of the image and enhance its overall aesthetic appeal.
Overview of the Process in Photoshop
Photoshop offers a wide range of tools and features that allow you to create borders around images with ease. The process generally involves selecting an image, preparing it for the border enhancement, creating the border using Photoshop’s tools, customizing the border to your liking, adjusting the image-border ratio, refining the border, and finally saving and exporting the image.
Benefits of Adding Borders to Images
There are several benefits to adding borders to images. Firstly, borders can provide a sense of completion and make an image feel more polished and refined. They can also help improve the overall composition by creating a visual frame that enhances the subject of the image. Borders can also add a touch of creativity and customization to your images, allowing you to showcase your unique style and personality. Additionally, adding borders can make images more suitable for certain contexts, such as social media platforms or printing and framing.
Choosing the Right Image
When it comes to choosing an image for border enhancement, it is important to consider several factors. Firstly, the image should be one that would benefit from the addition of a border. Some images may already have a strong composition or subject that does not require a border, while others may be enhanced by the presence of a frame.
It is also important to consider the image’s composition and subject. Certain images may have elements that could be visually enhanced or emphasized by the addition of a border, while others may not benefit from this. Additionally, the colors and tones of the image should be taken into account when choosing a border style and color.
Preparing the Image
Once you have chosen the image you want to add a border to, it is essential to prepare it before moving forward with the border creation process. Start by opening the image in Photoshop. This can be done by selecting “File” from the menu bar and then choosing “Open.”
Next, make any necessary adjustments to the image. This may include adjusting the exposure, contrast, saturation, or any other aspects that may improve the overall look of the image. It is also important to resize or crop the image, if required, to ensure it is suitable for the border enhancement process.
Creating the Border
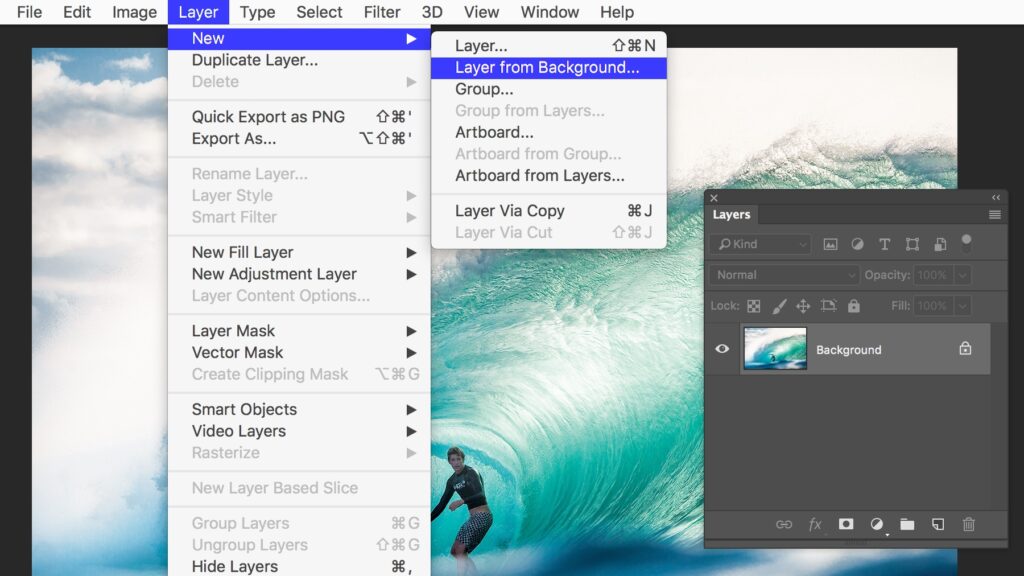
Now that your image is prepared, it is time to create the border. Start by selecting the appropriate border style. Photoshop offers a variety of border styles, such as solid, dashed, dotted, or even custom styles. Choose the style that best complements the image and suits your desired outcome.
Next, select the border color and thickness. This can be done by using the color picker tool in Photoshop and adjusting the stroke width to your liking. Experiment with different colors and thicknesses to find the combination that works best for your image.
Finally, apply the border using Photoshop’s tools. This can be done by selecting the “Stroke” option from the “Edit” menu and specifying the desired settings. Once applied, the border will appear around the image, providing a visual frame and enhancing its overall look.
Customizing the Border
To add a touch of uniqueness and creativity to your border, consider adding decorative elements. Photoshop offers various tools and features that allow you to experiment with different border effects. This can include adding shapes, textures, or even using brushes and patterns for a more customized look. Let your creativity guide you and explore different possibilities to create a border that truly stands out.
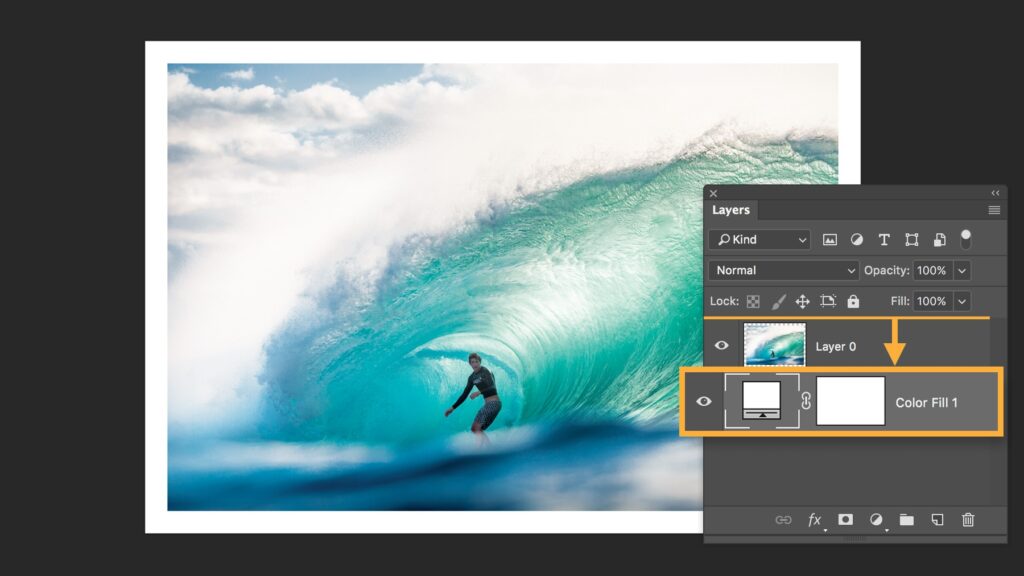
Adjusting the Image-Border Ratio
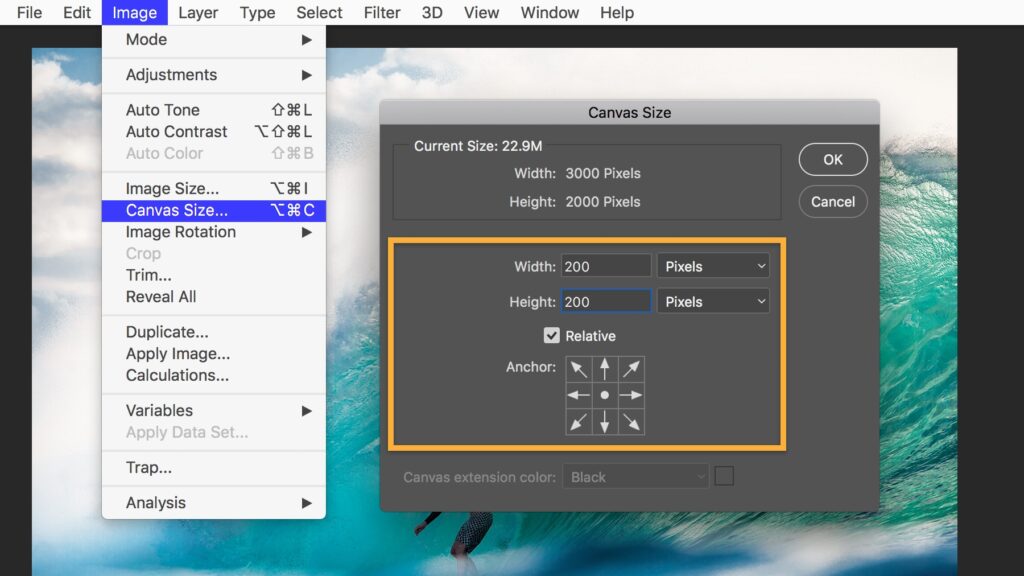
Ensuring a balanced image-border ratio is crucial to create a visually pleasing result. The size of the border and its relation to the image itself should be carefully considered to avoid overwhelming or disproportionate borders. To achieve a harmonious balance, scale the border to complement the image, ensuring it enhances the overall composition without overshadowing the main subject.
Refining the Border
To give your border a professional finish, it is important to refine it further. One way to do this is by smoothing the edges of the border to make it appear seamless with the image. This can be done by using the eraser tool or applying a slight blur effect to soften the edges.
You can also enhance the border further by adding gradients or shadows. This can create a sense of depth and dimension, making the border appear more visually interesting and engaging. Additionally, you may choose to apply additional effects or filters to the border to further enhance its overall look and impact.
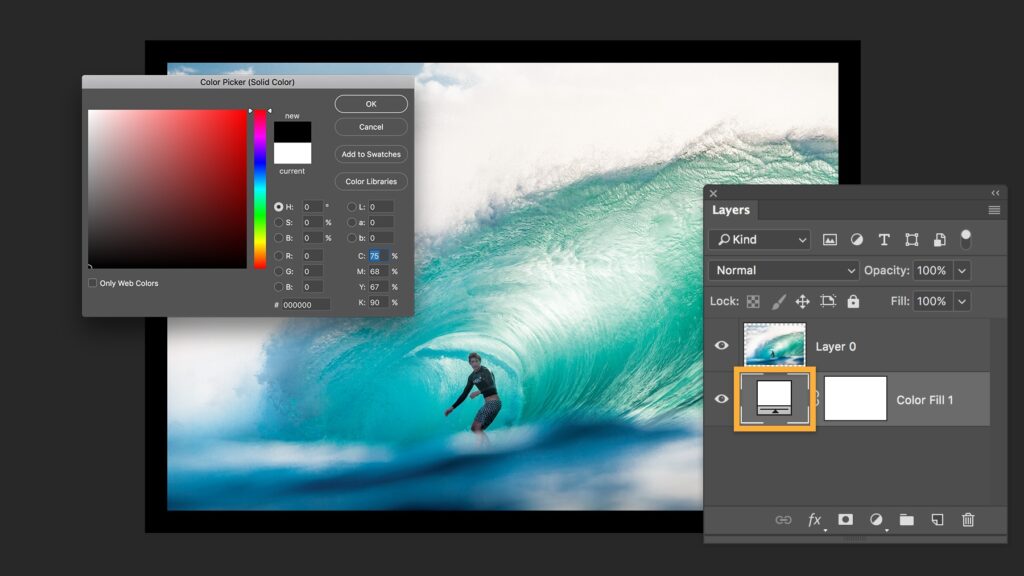
Saving and Exporting the Image
Once you are satisfied with the border creation and refinement, it’s time to save and export the image. Before doing so, make sure to choose the appropriate file format for the image. This will depend on the intended use of the image, whether it is for web viewing, printing, or other purposes.
Selecting the desired resolution and quality is equally important. Higher resolutions and quality levels are generally preferred for printing or showcasing the image on high-resolution devices. Lower resolutions and quality levels may be suitable for web viewing or sharing on social media platforms, where smaller file sizes are desired.
Finally, save the image with the border intact by selecting “Save As” from the “File” menu. Choose a location to save the image and specify the desired file format, resolution, and quality settings. Once saved, your image is ready to be shared, printed, or showcased with the border around it.
Showcasing the Border-Enhanced Image
Now that your image with the border is ready, it’s time to showcase your creation to the world. One popular option is to share the image on social media platforms. Consider posting it on platforms like Instagram, Facebook, or Twitter, and make sure to use relevant hashtags or captions to reach a wider audience.
If you intend to print and frame the image, take into consideration the size and style of the frame to ensure it complements the image and the border. You can also consider entering the image in photography competitions or exhibitions to receive feedback and appreciation for the border effect.
Conclusion
Creating a border around an image in Photoshop is a simple yet effective way to enhance its visual impact and appeal. By understanding the importance of borders, choosing the right image, preparing it properly, creating and customizing the border, adjusting the image-border ratio, refining the border, and saving and exporting the image, you can elevate your photographs to a new level. With endless creative possibilities and the ability to add a personalized touch to your images, exploring and experimenting with image borders in Photoshop is sure to bring out your artistic side. So grab your digital canvas and start adding borders to create stunning visuals that are bound to captivate your audience.

