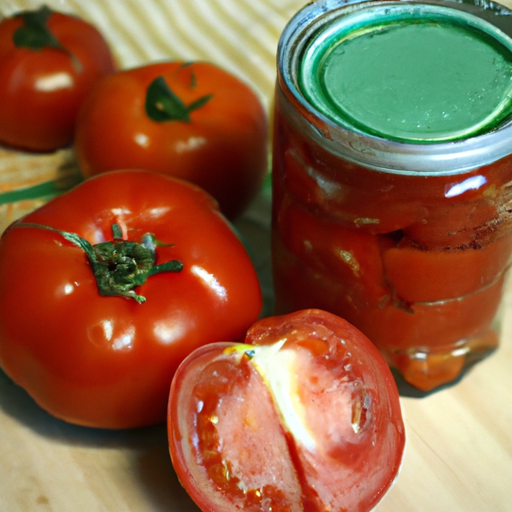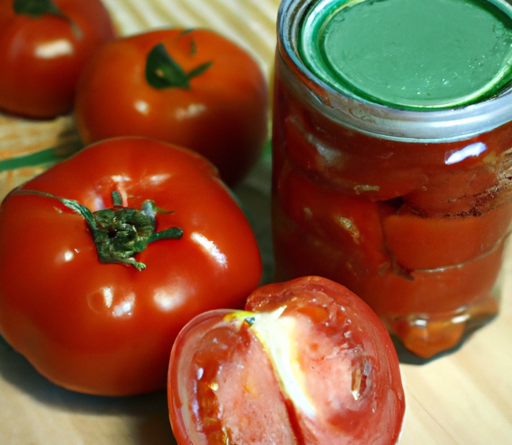
Do you enjoy the taste of fresh tomatoes all year round? Well, if you do, I’ve got some good news for you! Have you ever considered canning your own tomatoes? It’s actually a pretty simple process that you can easily do at home. In this article, I’ll walk you through the steps of how to can tomatoes, so you can enjoy their deliciousness even when they’re out of season.
Canning tomatoes is a great way to preserve the flavor and nutrients of fresh tomatoes for longer periods of time. Whether you have a surplus of tomatoes from your garden or simply want to stock up on this versatile fruit, canning is the way to go. Not only does it allow you to enjoy tomatoes throughout the year, but it also gives you the opportunity to control the quality and ingredients in your canned tomatoes. In this article, we’ll cover everything you need to know about canning tomatoes – from selecting the right tomatoes for canning, to preparing them for the process, and finally, sealing them in jars for storage. So, let’s dive in and learn how to can tomatoes together!
Read our book on Amazon on How to Can Tomatoes- A Beginners Guide
Table of Contents
How to Can Tomatoes
Canning tomatoes is a wonderful way to preserve the summer’s harvest and enjoy the sweet taste of fresh tomatoes all year round. Whether you have an abundant crop from your own garden or have bought a bushel of ripe tomatoes from the farmer’s market, canning allows you to savor the flavors of summer even in the depths of winter.

How to Can Tomatoes – Preparing the tomatoes
Selecting ripe tomatoes
To start the canning process, it is important to select ripe tomatoes. Look for tomatoes that are firm, plump, and free of any blemishes or signs of spoilage. Ripe tomatoes will give you the best flavor and ensure that your canned tomatoes turn out delicious.
Washing the tomatoes
Before you can begin canning, you need to wash the tomatoes thoroughly. Rinse them under cool running water to remove any dirt or pesticide residue. Gently rub the tomatoes with your hands to ensure that they are clean. It is essential to wash the tomatoes even if you plan to peel them later, as any bacteria or dirt on the outside can contaminate the inside of the tomatoes during the canning process.
Removing stems and leaves
Once the tomatoes are clean, you need to remove the stems and any attached leaves. Using a small knife or your hands, twist off the stems and discard them. If there are any leaves attached to the stems, remove them as well. Removing the stems and leaves will ensure that your canned tomatoes have a clean and attractive appearance.
Blanching and peeling
Blanching the tomatoes
Blanching is an essential step in the canning process as it helps to remove the skins from the tomatoes easily. To blanch the tomatoes, place them in a large pot of boiling water for about 30 to 60 seconds. The exact time will depend on the size and ripeness of the tomatoes. Blanching softens the tomato skins, making them easier to peel.
Plunging tomatoes into ice water
After blanching, immediately transfer the tomatoes to a bowl of ice water. The ice water will stop the cooking process and cool down the tomatoes. Leave the tomatoes in the ice water for a few minutes until they are completely cool. This cooling step also helps to loosen the skins further, making them easier to remove.
Peeling the tomatoes
Once the tomatoes have cooled down, you can easily peel off the skins. Gently squeeze each tomato, and the skin should slip off effortlessly. If you find any stubborn spots, you can use a paring knife to help remove the remaining skin. Remember to work carefully to maintain the shape and integrity of the tomato flesh.
Preparing the canning jars
Cleaning the jars
Before you start filling the jars with tomatoes, it is crucial to clean them thoroughly. Wash the jars and lids with warm, soapy water, rinsing them well to remove any soap residue. Pay close attention to the rims of the jars, ensuring that there is no debris or sticky residue that could prevent a proper seal.
Sterilizing the jars
Once the jars are clean, they need to be sterilized to eliminate any potential bacteria. There are several ways to sterilize jars, including boiling them in a large pot of water or using a dishwasher with a sterilization setting. Follow the manufacturer’s instructions for your specific jars to ensure that they are properly sterilized.
Inspecting for cracks
After sterilizing, it is essential to check the jars for any cracks or chips. Even minor imperfections can compromise the seal during the canning process. Discard any jars that show signs of damage to ensure that your canned tomatoes will be safe and properly preserved.
Preparing the canning lids
Checking for dents or damage
Before using the canning lids, inspect them for any dents or damage. A damaged lid may not form a proper seal, which can lead to spoilage. It is always best to use new lids for canning to ensure the best results.
Washing the lids
Once you have checked for any damage, wash the lids in warm, soapy water. Use a soft cloth or sponge to remove any dirt or residue. Thoroughly rinse the lids to remove any soap.
Boiling the lids
To ensure a proper seal, it is essential to boil the lids before using them. Place the lids in a small pot of water and bring it to a boil. Allow the lids to boil for a few minutes to ensure that they are sterile and ready for use.

Filling the jars
Adding lemon juice or citric acid
Before filling the jars with tomatoes, it is recommended to add lemon juice or citric acid. This helps to maintain the acidity of the tomatoes and prevent spoilage. Follow the recipe you are using for specific instructions on the amount to add.
Filling the jars with tomatoes
Fill the sterilized jars with the peeled tomatoes, leaving about a 1/2 inch of headspace at the top. Use a spoon or your hands to gently press down the tomatoes to remove any air bubbles. It is important to remove air bubbles to ensure a proper seal and prevent spoilage.
Removing air bubbles
To remove any remaining air bubbles, run a spatula or a chopstick along the inside of the jar, gently pressing down on the tomatoes. This will help release any trapped air pockets. Repeat this process for each jar before proceeding to the sealing step.
Sealing the jars
Applying the lids
Once the jars are filled and air bubbles have been removed, it is time to apply the lids. Using a clean, damp cloth, wipe the rims of the jars to remove any tomato residue or food particles. Place the sterilized lids on top of the jars, ensuring that they are centered and properly aligned.
Screwing on the bands
After placing the lids, screw on the bands until they are finger-tight. Do not over-tighten as this can prevent the lids from sealing properly. The bands should be snug but not excessively tight.
Ensuring proper seal
To ensure that the jars are properly sealed, gently press down on the center of each lid. If the lid springs back, it indicates that the jar is not properly sealed. In this case, refrigerate the jar and use the tomatoes within a few days. Properly sealed jars can be stored in a cool, dark place for up to a year.

Processing and storing
Water bath canning
To further preserve the tomatoes, they need to be processed using a water bath canning method. Place the filled and sealed jars in a large pot of boiling water, making sure that the jars are completely covered. Process the jars for the recommended amount of time, usually around 40 to 45 minutes, adjusting the time based on your altitude.
Processing times
The exact processing time will vary depending on your recipe and altitude. It is crucial to follow a tested and trusted recipe and adjust the processing time accordingly. Incorrect processing times can result in spoilage and unsafe canned tomatoes.
Cooling and storing the jars
After processing, remove the jars from the boiling water bath and place them on a towel or cooling rack to cool completely. As the jars cool, you may hear a satisfying “pop” sound, indicating that the lids have properly sealed. Allow the jars to cool undisturbed for 12 to 24 hours before checking the seals. Label the jars with the date and store them in a cool, dark place for optimal shelf life.
Troubleshooting and tips
Dealing with floating tomatoes
Sometimes, after canning, you may notice that the tomatoes float to the top of the jars. This is a common occurrence and not a cause for concern. To prevent floating tomatoes, it is recommended to pack the jars tightly and remove as many air bubbles as possible before sealing.
Preventing jar breakage
To prevent jar breakage, it is crucial to use jars specifically designed for canning and ensure that they are properly sterilized. Avoid sudden temperature changes, such as placing hot jars directly into cold water, as this can cause the glass to crack.
Storing properly
Proper storage is key to maintaining the quality and safety of your canned tomatoes. Store the jars in a cool, dark place, away from direct sunlight or excessive heat. Check the jars periodically for any signs of spoilage, such as a bulging lid or a foul odor. Discard any jars that show signs of spoilage to prevent any risk of foodborne illness.
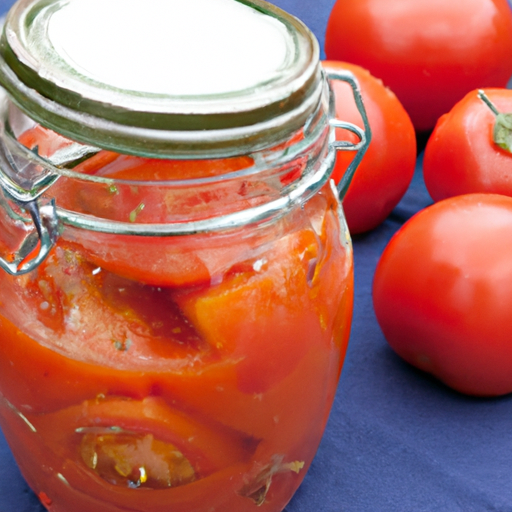
Using canned tomatoes
Recipes for using canned tomatoes
Canned tomatoes are incredibly versatile and can be used in a wide variety of recipes. They serve as a delicious base for soups, stews, sauces, and even salsas. Some popular recipes include homemade marinara sauce, tomato soup, and pasta dishes with rich tomato-based sauces.
Properly reheating the tomatoes
When using canned tomatoes in recipes, it is important to heat them thoroughly before consumption. This helps to kill any potential bacteria and ensures that the flavors meld together beautifully. Follow the recipe instructions for proper reheating techniques and times.
Freezing vs. canning
While canning is a great way to preserve tomatoes for long-term storage, some people prefer to freeze tomatoes instead. Freezing tomatoes is easier and requires less equipment, but they may have a softer texture when thawed. It is essential to blanch and peel the tomatoes before freezing to ensure the best quality.
Conclusion to How to Can Tomatoes
Canning tomatoes is a rewarding and practical way to enjoy the flavors of summer all year round. By following these steps and tips, you can confidently prepare and preserve your own delicious canned tomatoes. Whether you’re making a classic marinara sauce or adding tomatoes to your favorite soup recipe, the taste and convenience of homemade canned tomatoes cannot be beaten. So go ahead, grab a fresh bushel of tomatoes, and start canning!
