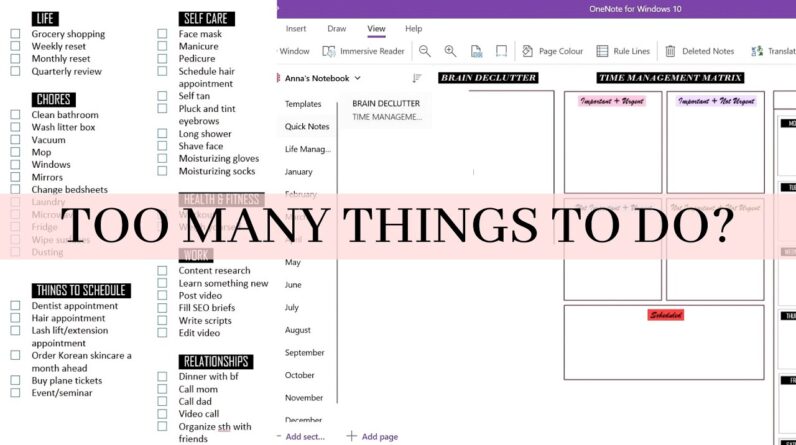
In this article, we will discuss how to create a to-do list in OneNote. You will learn step-by-step instructions on how to organize and manage your tasks effectively using this popular productivity tool. By the end of this article, you will have a clear understanding of how to create, prioritize, and track your to-do list items in OneNote, helping you stay on top of your daily tasks and increase your productivity. So, let’s get started and master the art of creating a to-do list in OneNote!
Table of Contents
Overview
What is OneNote?
OneNote is a digital note-taking application developed by Microsoft. It allows you to create and organize notes in a free-form manner, making it a versatile tool for various purposes such as brainstorming, project management, and creating to-do lists.
What is a To-Do List?
A to-do list is a simple yet powerful tool that helps you stay organized and productive. It allows you to list down tasks and prioritize them, making it easier to manage your workload and ensure nothing gets overlooked. With OneNote, you can create a digital to-do list that is easily accessible and can be customized to suit your needs.
Getting Started
Downloading and Installing OneNote
First, you need to download and install OneNote on your device. OneNote is available for free as part of the Microsoft Office Suite or as a standalone application for Windows, Mac, iOS, and Android. Visit the Microsoft website or your device’s app store to download and install OneNote.
Opening OneNote
Once installed, you can open OneNote by locating the application icon on your device’s home screen or in the Start menu. Simply click or tap on the icon to launch the application.
Creating a New Notebook
To create a new to-do list, you need to create a new notebook in OneNote. A notebook acts as a container for your notes and allows you to organize them in a structured manner.
- Open OneNote.
- Click or tap on “File” in the top menu.
- Select “New” and choose the option to create a new notebook.
- Give your new notebook a name and choose a location to save it.
- Click or tap “Create” to create the notebook.
Creating a To-Do List
Opening a New Page
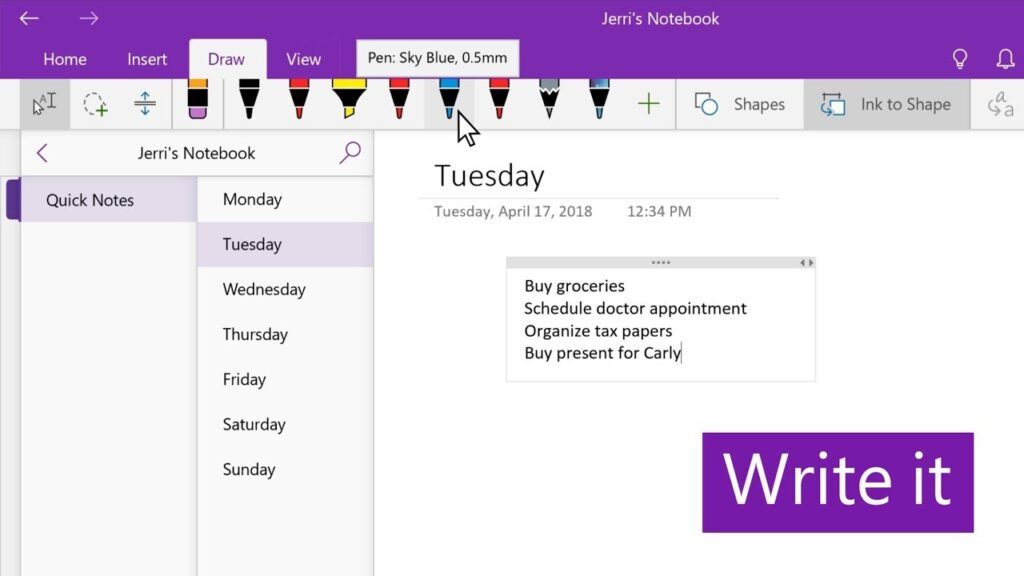
To create a to-do list in OneNote, you need to open a new page within your notebook.
- Open the notebook where you want to create the to-do list.
- Click or tap on the section where you want to add the to-do list.
- Click or tap on the “+ Page” button to create a new page within that section.
Adding Headers
Headers help you categorize and organize your tasks. You can use headers to group related tasks together or to distinguish different sections within your to-do list.
- On the new page, click or tap on the area where you want to add a header.
- Type a descriptive header for the section or category of tasks.
- Press Enter or Return to create the header.
Making Bullet Points
Bullet points make your to-do list easier to read and follow. They allow you to list down individual tasks or items that need to be addressed.
- Underneath each header, click or tap on the area where you want to add a bullet point.
- Type in your task or item.
- Press Enter or Return to create a new bullet point.
Adding Subtasks
To break down complex tasks or to provide further details, you can add subtasks beneath each main task or bullet point.
- Indent the bullet point by pressing the Tab key on your keyboard.
- Type in the subtask or additional details.
- Press Enter or Return to create a new subtask.
Organizing and Managing Tasks
Using Tags
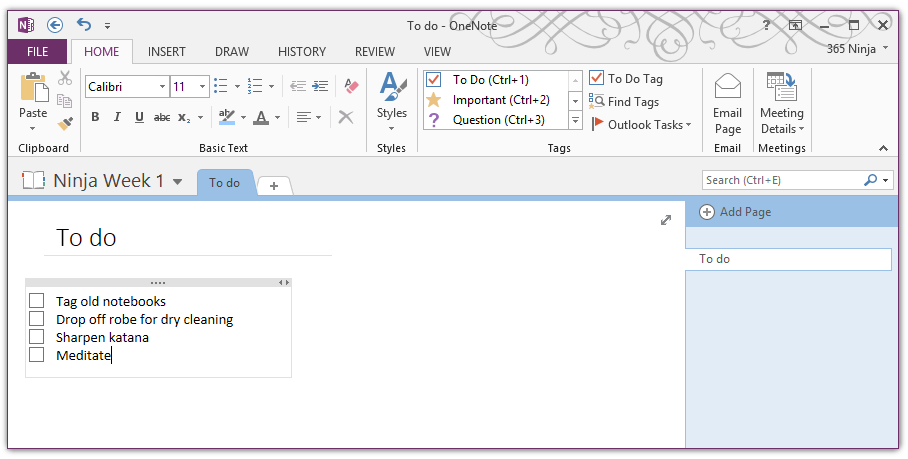
Tags in OneNote allow you to add metadata to your tasks, making it easier to categorize and prioritize them. You can add tags such as “Important,” “Urgent,” or “Completed” to your to-do list items.
- Select the text or task you want to tag.
- Right-click (or tap and hold) on the selection.
- Click or tap on the “Tag” option in the context menu.
- Choose the appropriate tag from the list or customize your own tags.
Setting Priorities
Prioritizing your tasks helps you focus on the most crucial and time-sensitive ones. OneNote allows you to visually prioritize your to-do list by using different colors or symbols.
- Select the text or task you want to prioritize.
- Right-click (or tap and hold) on the selection.
- Click or tap on the “Priority” option in the context menu.
- Choose the appropriate priority level, such as high, medium, or low.
Adding Due Dates
Assigning due dates to your tasks helps you stay organized and ensures that nothing falls through the cracks. OneNote allows you to add due dates to your to-do list items.
- Select the text or task you want to assign a due date to.
- Right-click (or tap and hold) on the selection.
- Click or tap on the “Due Date” option in the context menu.
- Choose the desired due date from the calendar.
Creating Reminders
Reminders help you stay on top of your deadlines and ensure that you don’t forget important tasks. OneNote allows you to set reminders for your to-do list items.
- Select the text or task you want to set a reminder for.
- Right-click (or tap and hold) on the selection.
- Click or tap on the “Reminder” option in the context menu.
- Set the desired reminder date and time.
Customizing the To-Do List
Changing Font Styles
OneNote allows you to customize the font styles of your to-do list to make it visually appealing and easier to read.
- Select the text you want to modify.
- Click or tap on the “Font” dropdown in the top menu.
- Choose the desired font, size, and formatting options.
Adding Checkboxes
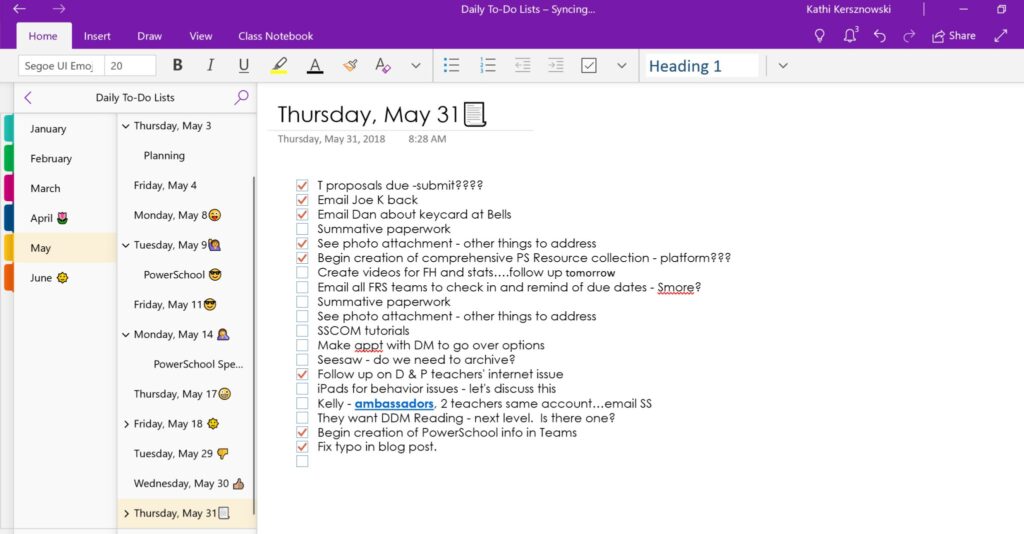
Checkboxes in OneNote allow you to visually track the completion status of your tasks. You can easily add checkboxes to your to-do list items.
- Place your cursor at the beginning of the task or bullet point.
- Click or tap on the “To Do” checkbox button in the top menu.
Using Highlighter
Highlighting important tasks or sections in your to-do list helps them stand out and catch your attention. OneNote provides a highlighter tool for this purpose.
- Select the text or task you want to highlight.
- Click or tap on the “Highlighter” button in the top menu.
- Choose the desired color for highlighting.
Adding Images
OneNote allows you to add images to your to-do list, such as reference images or visual reminders.
- Click or tap on the area where you want to add the image.
- Click or tap on the “Insert” tab in the top menu.
- Click or tap on the “Pictures” button and choose the image you want to add.
Collaborating and Sharing
Inviting Others to Access the List
OneNote allows you to collaborate and share your to-do list with others. You can invite team members, colleagues, or friends to access and contribute to the list.
- Click or tap on the “File” tab in the top menu.
- Select the “Share” option.
- Choose the method of sharing, such as email or app-specific sharing.
Granting Editing Permissions
When collaborating on a to-do list in OneNote, you can grant editing permissions to others, allowing them to modify and update the list.
- After sharing the to-do list, select the shared notebook in OneNote.
- Click or tap on the “Share” button in the top menu.
- Choose the option to grant editing permissions to the collaborators.
Syncing Across Devices
OneNote allows you to access your to-do list on multiple devices, ensuring that you can stay productive and organized regardless of the device you are using.
- Sign in to your Microsoft account within the OneNote application.
- Enable syncing in the application settings to automatically sync your to-do list across devices.
Integrating with Other Apps
Importing Tasks from Outlook or Excel
OneNote integrates seamlessly with other Microsoft applications such as Outlook and Excel. You can easily import tasks or data from these applications into your OneNote to-do list.
- Open Outlook or Excel and select the tasks or data you want to import.
- Right-click on the selected items and choose the option to send or export to OneNote.
Linking to Microsoft Planner
Microsoft Planner is a task management tool that integrates with OneNote. You can easily link your to-do list in OneNote with tasks in Microsoft Planner.
- Open Microsoft Planner and navigate to the desired task or project.
- Copy the task link or URL.
- In OneNote, select the text or task you want to link.
- Right-click (or tap and hold) on the selection.
- Click or tap “Link” and paste the task link.
Syncing with Microsoft Teams
If you are using Microsoft Teams for collaboration and communication, you can easily sync your OneNote to-do list with Microsoft Teams.
- Open Microsoft Teams and navigate to the desired channel or chat.
- Click or tap on the “+” button to add a new tab.
- Choose the “OneNote” app from the list of available apps.
- Select the desired OneNote notebook and section.
Using Keyboard Shortcuts
Common Shortcuts for OneNote
OneNote provides various keyboard shortcuts that can help you navigate and work efficiently within the application.
- Create a new page: Ctrl + N (Windows) or Command + N (Mac)
- Save the current page: Ctrl + S (Windows) or Command + S (Mac)
- Undo the last action: Ctrl + Z (Windows) or Command + Z (Mac)
- Cut selected text or task: Ctrl + X (Windows) or Command + X (Mac)
- Copy selected text or task: Ctrl + C (Windows) or Command + C (Mac)
- Paste copied or cut text or task: Ctrl + V (Windows) or Command + V (Mac)
Task Management Shortcuts
OneNote provides specific keyboard shortcuts for managing tasks within your to-do list.
- Mark a task as completed: Ctrl + . (Windows) or Command + . (Mac)
- Move to the next task: Ctrl + Shift + > (Windows) or Command + Shift + > (Mac)
- Move to the previous task: Ctrl + Shift +


