Have you ever wanted to learn how to draw a cat? Well, you’re in luck, because I have a step-by-step guide just for you! Drawing can be such a fun and creative outlet, and cats are such interesting creatures to capture on paper. So grab your pencil and let’s get started!
In this article, I’m going to break down the process of drawing a cat into simple, easy-to-follow steps. Whether you’re a beginner or have some drawing experience, you’ll be able to follow along and create your own feline masterpiece. We’ll start with the basic shapes and gradually add details to bring our cat to life.
By the end of this tutorial, you’ll have all the tools and techniques you need to draw a cat that looks realistic and full of character. From sketching the body and face to adding texture and shading, we’ll cover it all. So if you’re ready to unleash your artistic skills and learn how to draw a cat step by step, keep reading!
Table of Contents
How to Draw a Cat Step by Step
Drawing is a wonderful form of art that allows us to express our creativity and imagination. If you have always wanted to learn how to draw a cat, you’re in the right place! In this step-by-step guide, we will walk you through the process of drawing a cat from start to finish. So grab your supplies, set up your workspace, and let’s get started on this feline adventure!

Preparing to Draw
Gathering Supplies
Before you begin your drawing, it is important to gather all the necessary supplies. Here are some essential items you will need:
- Pencils (HB, 2B, 4B)
- Eraser
- Drawing paper
- Reference image of a cat
Make sure to choose high-quality pencils that will allow you to create smooth and detailed lines. The eraser is an essential tool for correcting and refining your drawing. Opt for a soft eraser that won’t damage the paper. As for the paper, use a smooth and heavyweight sheet that can withstand shading and coloring.
Setting up Your Workspace
Having a clean and organized workspace is crucial for a successful drawing session. Find a quiet area with good lighting where you can concentrate. Clear your desk and remove any distractions. Arrange your supplies in an easily accessible manner so that you don’t have to constantly search for what you need.
Choosing a Reference Image
Drawing from a reference image is a great way to ensure accuracy and capture the unique features of a cat. Find a clear and high-resolution photo of a cat that you would like to draw. Make sure the image shows the cat from a desirable angle and includes details of its facial features and fur texture. Print out the image or have it readily available on your computer or phone.
Drawing the Guidelines
Sketching Basic Shapes
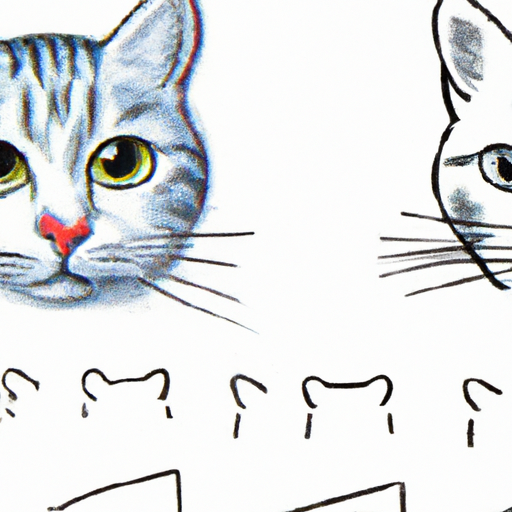
To start, we will draw the basic shapes that will serve as a guide for the cat’s body. Begin by lightly sketching an oval shape for the head. Then, draw an elongated oval underneath for the body. Add two small circles on the head for the ears and a larger circle for the muzzle.
Creating the Proportions
Next, we will refine the shapes and establish proper proportions. Observe the reference image and compare the size and position of each feature. Adjust the shape of the head and body accordingly. Make sure the distance between the eyes, ears, and mouth is accurate.
Adding the Facial Features
Now it’s time to add the cat’s facial features. Start by sketching two almond-shaped eyes between the ears. Add a small triangle underneath for the nose. Draw a curved line below the nose to indicate the cat’s mouth. Finally, add some lines to define the position of the whiskers.
Outlining and Adding Details
Defining the Contours
Once the guidelines are in place, it’s time to outline the cat’s body. Start by gradually darkening the lines you have already drawn, making them more defined. Pay attention to the shape and curvature of the cat’s body, focusing on capturing its unique posture and grace. Take your time and work on one section at a time.
Adding Fur Texture
To add depth and realism to your drawing, it’s important to create the illusion of fur. Start by adding small, short strokes along the contours of the cat’s body. These strokes should follow the direction of the fur. Use a lighter pencil, such as an HB, for this step. Gradually build up the fur texture by adding more strokes and varying their lengths and intensity.
Sketching the Eyes, Ears, and Nose
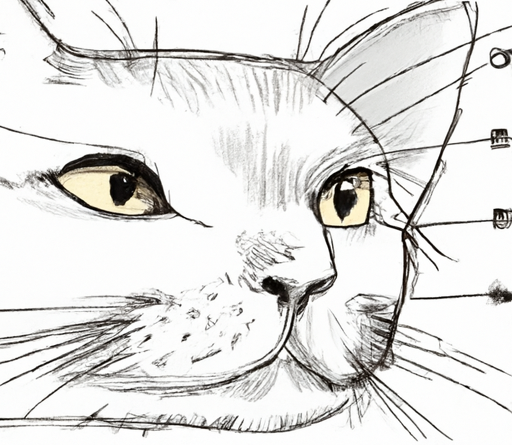
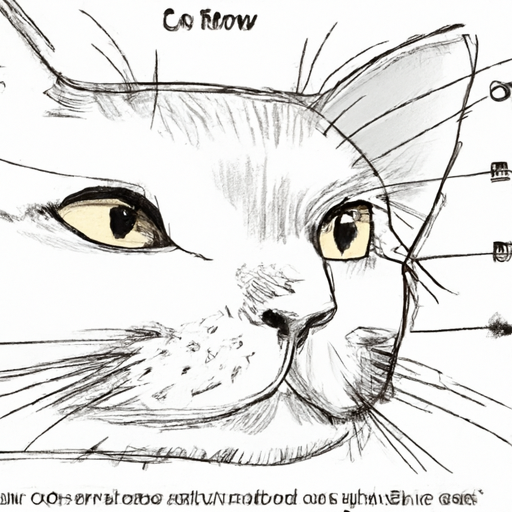
Now let’s bring the cat’s features to life. With a darker pencil, carefully outline the eyes, making them slightly thicker towards the outer corners. Add small details such as the pupils, eyelashes, and reflections to make the eyes appear more realistic. Define the shape of the ears and add some texture with short strokes. Shade the nose and add small lines to indicate the cat’s whiskers.
Drawing Whiskers and Eyebrows
To complete the cat’s facial features, draw the whiskers and eyebrows. Use thin, light strokes to indicate the whiskers protruding from the sides of the cat’s face. Add a gentle curve to the whiskers to give them a natural appearance. For the eyebrows, make small, slightly curved lines above each eye. Take your time with these details to ensure accuracy.
Shading and Coloring
Creating Shadows and Highlights
Shading is a crucial step in adding dimension and realism to your drawing. Identify the areas of the cat’s body that are in shadow and those that are highlighted. Use a combination of light and dark shading techniques to create a three-dimensional effect. Pay attention to the direction of the light source in your reference image and shade accordingly.
Using Pencil or Charcoal
When shading, you can choose to use either a pencil or charcoal, depending on your preference and desired effect. Pencils allow for more control and precision, while charcoal creates a softer and more dramatic look. Experiment with different techniques and tools to achieve the shading style that suits your drawing.
Adding Color with Colored Pencils or Paints
If you prefer a colored drawing, you can use colored pencils or paints to add vibrant hues to your cat drawing. Choose colors that match the fur pattern and markings of the cat in your reference image. Layer the colors gradually, starting with lighter shades and building up to darker ones. Blend the colors smoothly to achieve a realistic and seamless appearance.

Refining the Drawing
Erasing Unnecessary Lines
Now that you have added all the necessary details, it’s time to clean up your drawing. Carefully erase any overlapping or unnecessary lines that may still be visible. Use a soft eraser to avoid damaging the paper. Take your time and be gentle to ensure a clean and polished final result.
Correcting the Proportions
While erasing, take a moment to check the proportions of your drawing. Compare it to the reference image and make any necessary adjustments. Pay close attention to the size and position of the features, as well as the overall shape of the cat’s body. Continuously refine and correct the drawing until you are satisfied with the proportions.
Enhancing Details
To bring your drawing to the next level, consider adding more intricate details. Study the reference image to identify any small features that may be missing, such as tiny hairs or subtle markings. Use a fine-tip pencil to carefully add these details, being mindful of their placement and size. Remember that it’s the little things that can make a big difference in the overall appearance of your drawing.
Adding Background
Choosing a Suitable Background
Now that your cat drawing is complete, it’s time to think about the background. Consider the mood and theme you want to convey. A simple colored background or a textured surface can enhance the cat’s presence. Alternatively, you can create a more elaborate background by drawing additional elements that complement the cat’s pose and surroundings.
Drawing Additional Elements
If you decide to add more elements to the background, carefully plan their placement and scale. Consider incorporating objects that are related to cats, such as toys or plants. You can also create a natural setting with trees, grass, or a cozy indoor environment. Experiment with different compositions to find the one that best suits your vision.
Creating Depth and Perspective
To create depth and perspective in your drawing, use shading techniques to differentiate between the foreground, middle ground, and background. Darken the shadows and add more details to objects in the foreground, while keeping the background more subdued. This will give your drawing a sense of depth and make it appear more realistic.
Final Touches
Smoothing and Blending
Before you consider your drawing complete, take a moment to smooth out any rough areas or visible pencil strokes. Use blending tools such as a blending stump or a cotton swab to gently soften and blend the shading. This will create a more seamless and polished look.
Adding Highlights and Final Details
To add a final touch of realism to your drawing, carefully add highlights to certain areas. Use an eraser or a white pencil to create small, bright spots on the fur, eyes, and other reflective surfaces. This will make your drawing appear more vibrant and lifelike. Additionally, examine your drawing closely and add any final details that may still be missing.
Cleaning up the Drawing
Now that your cat drawing is complete, it’s time to clean up your workspace. Put away your supplies, organize your materials, and discard any unnecessary scrap papers. Take a moment to admire your finished masterpiece and celebrate your accomplishment!
Tips and Common Mistakes
Using Reference Photos
Using a reference photo is essential for capturing the unique features and proportions of a cat. Take your time to find a clear and detailed image that accurately represents the cat you want to draw. Make sure the photo shows the cat from a desirable angle and includes close-up shots of the face and fur texture.
Practicing Basic Shapes
Before tackling the entire drawing, it’s helpful to practice drawing basic shapes and proportions. This will train your eye to see the underlying structure of the cat’s body and improve your overall accuracy. Take your time to master the basic shapes before moving on to more complex details.
Avoiding Overworking the Drawing
One common mistake beginners make is overworking their drawing. It’s easy to get caught up in adding too many details or shading excessively. Remember to step back regularly and assess your progress. Sometimes, less is more, and a simpler, more minimalistic approach can result in a more impactful and pleasing drawing.
Troubleshooting
Fixing Proportions
If you notice any issues with the proportions of your drawing, don’t be discouraged. Proportions can be challenging, especially when drawing animals. Take a break and come back to your drawing with fresh eyes. Identify the areas that need adjustment and use erasers and fine-tip pencils to correct the proportions gradually.
Correcting Mistakes
Mistakes are a natural part of the drawing process, and it’s important not to let them discourage you. Instead of dwelling on them, focus on finding ways to correct and learn from them. Use your eraser to carefully remove any unwanted marks or lines. Remember that practice makes perfect, and each drawing is an opportunity to improve your skills.
Managing Smudging and Blurring
If you encounter issues with smudging or blurring, there are a few tricks you can try. First, avoid resting your hand directly on the paper while drawing to prevent smudging. You can also place a clean sheet of paper under your hand to act as a barrier. Additionally, work from top to bottom and left to right to minimize the risk of accidentally smudging your drawing.
Conclusion
Drawing a cat can be a challenging yet rewarding experience. By following this step-by-step guide, you now have the knowledge and tools to create your own unique cat drawings. Remember to have fun, be patient with yourself, and keep practicing. Each drawing will bring you closer to mastering the art of drawing cats. So pick up your pencils, unleash your creativity, and enjoy the process of bringing these adorable feline creatures to life on paper!

