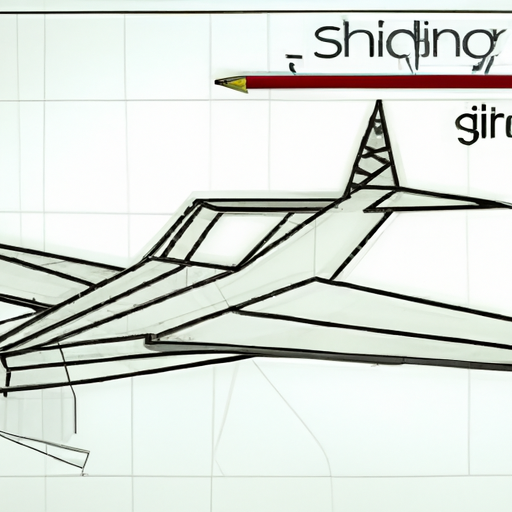
Do you ever find yourself staring up at the sky, watching airplanes soar through the air, and wishing you could capture their beauty on paper? Well, you’re in luck! In this article, you’ll learn how to draw a plane step-by-step. Whether you’re a beginner or an experienced artist, this guide will provide you with all the tools and techniques you need to create a stunning drawing of a plane.
Drawing a plane may seem like a daunting task, but with a little practice and patience, you’ll be able to master this skill. In this step-by-step guide, I’ll walk you through each stage of the drawing process, starting from the basic shape and gradually adding more details. Along the way, I’ll provide helpful tips and tricks to make your drawing look more realistic. By the end of this article, you’ll have a beautiful drawing of a plane that you can proudly show off to your friends and family. So, grab your pencil and let’s get started!
Table of Contents
Step-by-Step Guide: How to Draw a Plane
Drawing is an enjoyable hobby that allows you to express your creativity and imagination. One popular subject for drawing is planes. Whether you are interested in aviation or simply want to try something new, learning how to draw a plane can be a fun and rewarding experience. In this step-by-step guide, we will walk you through the process of drawing a plane from start to finish. Let’s get started!
Materials Needed
Before we begin, it is important to gather the necessary materials. For this drawing tutorial, you will need the following:
- Pencil: A pencil will allow for easy corrections and adjustments throughout the drawing process.
- Paper: Choose a good quality drawing paper that can withstand erasing and has a smooth surface.
- Eraser: An eraser will be useful for removing any unwanted lines or mistakes.
Now that you have your materials ready, let’s move on to the first step.
Step 1: Sketching the Fuselage
The fuselage is the main body of the plane. To start, draw a vertical rectangle on your paper. This will serve as the framework for the plane’s body. Next, add a horizontal line at the center of the rectangle. This line will help you maintain the symmetry of your drawing and create a clear division between the top and bottom parts of the fuselage.
Step 2: Creating Wings
Wings are an essential part of any plane. To draw the wings, sketch two parallelograms on either side of the fuselage. Make sure that the wings are proportionate to the size of your plane and positioned correctly. Once you are satisfied with the shape and placement of the wings, connect them to the fuselage by drawing diagonal lines from the ends of the wings to the fuselage.
Step 3: Detailing the Wings
Now that we have the basic shape of the wings, let’s add some details. Start by drawing wing flaps on the trailing edge of each wing. These flaps are movable surfaces that help control the plane’s flight. Next, draw ailerons on the trailing edge of the wings, near the wingtips. Ailerons are small hinged sections that allow for lateral control of the plane. Finally, add wingtips by drawing small curved lines at the end of each wing.
Step 4: Outlining the Tail
The tail section of a plane provides stability and control. To outline the tail, draw a triangle shape at the rear of your fuselage. This triangle will represent the vertical stabilizer of the plane. Next, add horizontal and vertical stabilizers by drawing lines at the top and bottom of the triangle. These stabilizers play a crucial role in keeping the plane balanced during flight.
Step 5: Adding Landing Gear
A plane’s landing gear allows it to take off and land safely. To draw the landing gear, sketch two sets of wheels at the bottom of the fuselage. Position the wheels so that they are evenly spaced and aligned with the center of the plane. Once you have drawn the wheels, connect them to the fuselage by drawing curved lines.
Step 6: Defining the Cockpit
The cockpit is where the pilot controls the plane. To define the cockpit, add a small rectangle at the front of the fuselage. This rectangle will serve as the windshield and provide a clear view for the pilot. Next, draw windows on the sides of the fuselage. These windows can be represented by small rectangles or ovals, depending on your preference.
Step 7: Adding Details
To make your plane look more realistic, it’s important to add some details. Start by sketching engine details on the sides of the fuselage. These can be represented by circular shapes or any other design you prefer. Next, draw a propeller at the front of the plane. The propeller should be positioned in the center of the fuselage and consist of three or more curved blades.
Step 8: Erasing Unnecessary Lines
Now that you have completed the basic outline of your plane, it’s time to clean up the drawing. Carefully erase any construction lines that are no longer needed. Take your time with this step to ensure that your drawing looks neat and polished. Once you have erased all the unnecessary lines, step back and admire your work.
Conclusion
Congratulations, you’ve successfully drawn a plane! By following this step-by-step guide, you have learned the fundamental techniques for drawing a plane from start to finish. Remember to practice and experiment with different styles to further develop your drawing skills. Drawing is a wonderful way to express yourself creatively, and with time and dedication, you can continue to improve. So grab your pencil and paper, and start exploring the world of drawing!
