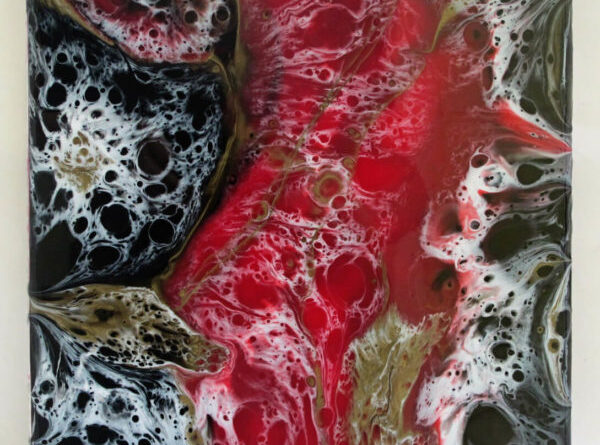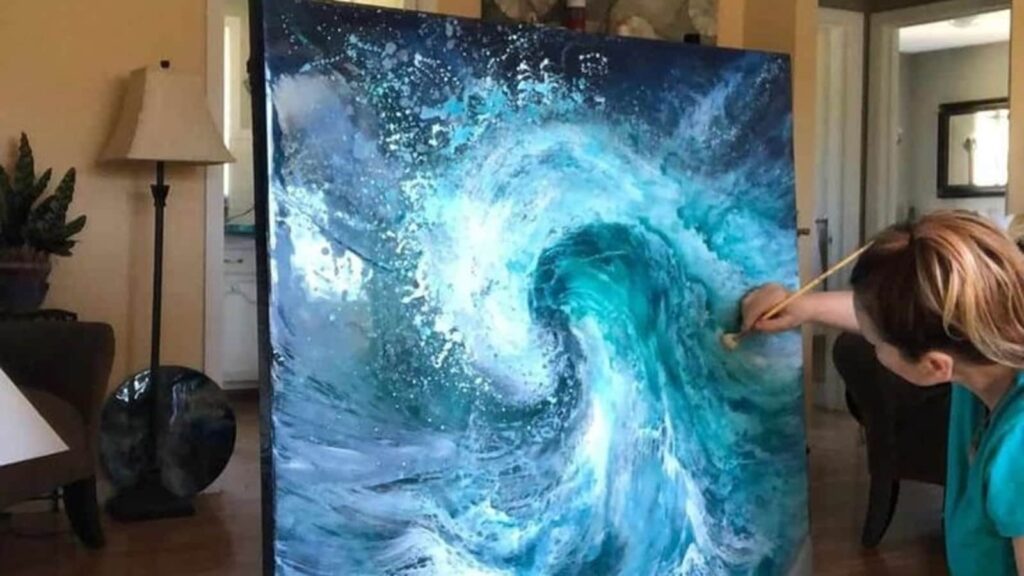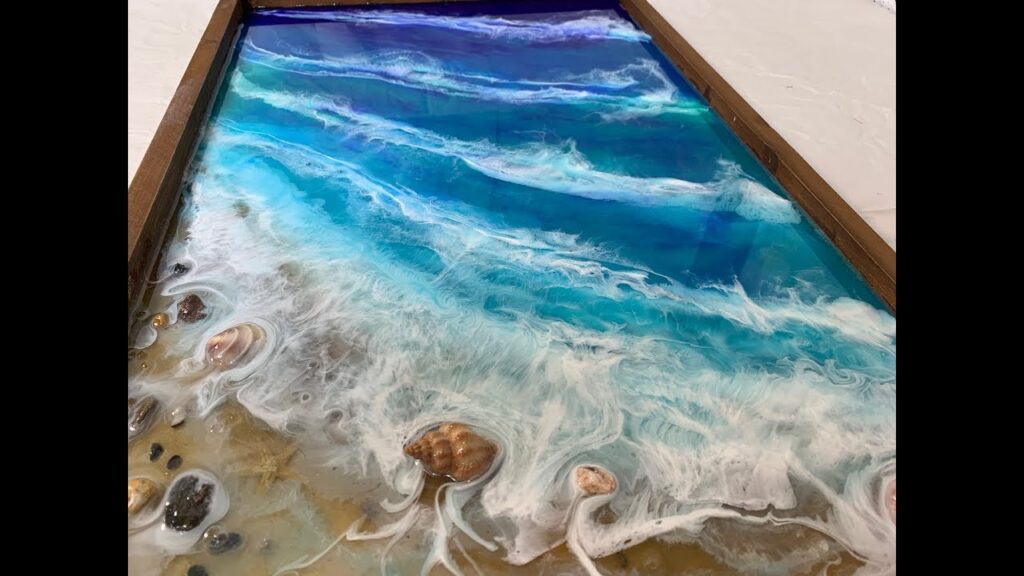
In this article, you will learn all about creating stunning artwork with epoxy resin. Whether you are a beginner or an experienced artist, you will discover the joys of working with this versatile medium. From the basics of mixing and pouring to advanced techniques like adding pigments and creating unique textures, you will be able to unleash your creativity and create beautiful resin art.
First, we will delve into the different materials and tools you will need to get started. From epoxy resin and hardener to mixing cups and silicone molds, we will cover everything you need to build your own resin art kit. Then, we will guide you through the step-by-step process of mixing the resin and pouring it onto a surface, whether it’s a canvas, wood panel, or even a tabletop. We will also explore various techniques to achieve different effects, such as layering, swirling, and adding metallic accents. By the end of this article, you will have the knowledge and confidence to create your own stunning artwork with epoxy resin.
Table of Contents
Introduction
Creating stunning artwork with epoxy resin has become a popular trend in the art world. Epoxy resin is a versatile material that can be used to produce various artistic effects, from glossy finishes to unique textures. In this article, we will explore the fundamentals of working with epoxy resin, including understanding its properties and benefits, choosing the right materials, preparing the workspace, preparing the surface, mixing the epoxy resin, pouring and manipulating the resin, curing and drying, finishing and polishing, and creating artistic effects. By the end of this article, you will have the knowledge and techniques to unleash your creativity and create breathtaking artwork using epoxy resin.
Understanding Epoxy Resin
Before diving into the process of creating artwork with epoxy resin, it is essential to understand what epoxy resin is. Epoxy resin is a type of synthetic material that consists of two components – a resin and a hardener. When these two components are mixed together, a chemical reaction occurs, resulting in a hard and durable material. Epoxy resin is known for its high gloss and clarity, making it a popular choice for creating visually striking artwork.
Properties and Benefits of Epoxy Resin
Epoxy resin possesses several properties and benefits that make it an ideal material for artists. Firstly, it has excellent adhesive properties, which allow it to bond strongly with various surfaces. This means that you can use epoxy resin to create artwork on a wide range of materials, such as wood, canvas, glass, and even metals. Secondly, epoxy resin is highly resistant to heat, chemicals, and water, ensuring the longevity of your artwork. Additionally, epoxy resin is self-leveling, which means it can create a smooth and even surface without requiring much effort.
Choosing the Right Materials
To ensure the success of your epoxy resin art project, it is crucial to select high-quality epoxy resin and gather the necessary tools and equipment. Using high-quality epoxy resin will result in a better finish and enhance the durability of your artwork. Look for epoxy resin that has a low viscosity and a long working time, as this will give you more control over the pouring and manipulating process. Additionally, make sure to choose a resin that has a high UV resistance, as this will prevent your artwork from yellowing over time when exposed to sunlight.
In terms of tools and equipment, you will need a measuring scale or syringe to accurately measure the resin and hardener ratio, mixing cups or containers, stirring sticks, and a heat gun or torch for removing air bubbles. Ensure that your workspace is well-equipped with these essential items before starting your epoxy resin art project.

Safety Precautions
Working with epoxy resin requires taking certain safety precautions to protect yourself and the environment. It is important to wear protective gloves and safety goggles to prevent any contact with the resin and hardener, which can cause skin irritation. Additionally, working in a well-ventilated area is crucial as epoxy resin emits fumes during the curing process, which can be harmful if inhaled in large quantities. Consider using a respirator or working near an open window or using a fan for proper ventilation.
Moreover, it is essential to keep your workspace clean and free from any dust or debris. Dust particles can easily get trapped in the resin, resulting in a less desirable finish. Therefore, regularly clean and organize your workspace to ensure the highest quality of your artwork.
Preparing the Workspace
Before starting your epoxy resin art project, you need to prepare your workspace properly. Begin by organizing and cleaning your workspace to create a clutter-free environment. This will allow you to work efficiently and prevent any accidents or spills. Remove any unnecessary objects or materials from your workspace, ensuring you have enough room to comfortably move around.
Creating a dust-free environment is also crucial for achieving a smooth and flawless finish. Dust particles can easily settle on the resin surface and ruin the visual appeal of your artwork. Therefore, wipe down all surfaces with a damp cloth and use a tack cloth or lint roller to remove any remaining dust particles. Additionally, cover your workspace with plastic sheets or drop cloths to protect it from any spills or drips.

Ensuring Adequate Ventilation
Proper ventilation is essential when working with epoxy resin to ensure your safety. As mentioned earlier, epoxy resin emits fumes during the curing process, which can be harmful if inhaled in large quantities. Working in a well-ventilated area will help dissipate these fumes and reduce the risk of any respiratory issues. If possible, open windows or use fans to circulate the air. Additionally, consider wearing a respirator to further protect yourself from any potential health hazards.
Preparing the Surface
To create stunning artwork with epoxy resin, it is essential to prepare the surface properly. The surface on which you will be applying the epoxy resin should be clean, smooth, and dry. Begin by selecting a suitable base, such as a canvas, wood panel, or any other material that is compatible with epoxy resin. Ensure that the base is free from any dirt, dust, or imperfections that can affect the final outcome.
Before applying the epoxy resin, sand the surface to create a rough texture that allows for better adhesion. Use a sanding block or sandpaper to lightly sand the surface, making sure to remove any varnish, paint, or previous coatings. After sanding, clean the surface thoroughly using a damp cloth or a lint-free cloth. This will remove any dust or debris that could affect the resin’s clarity and smoothness.
Once the surface is clean and dry, apply a sealant to prevent any moisture or air bubbles from interfering with the resin. Use a brush or a roller to evenly apply the sealant over the entire surface. Allow the sealant to dry completely before applying the epoxy resin.

Mixing Epoxy Resin
The process of mixing epoxy resin involves combining the resin and hardener in the correct ratios. It is crucial to follow the manufacturer’s instructions and measure the resin and hardener accurately to ensure a proper chemical reaction. Most epoxy resins have a 1:1 ratio, meaning equal parts of resin and hardener are mixed together. However, some epoxy resins may have different ratios, so always check the instructions.
To mix the epoxy resin, pour the measured amounts of resin and hardener into a mixing cup or container. Use a stirring stick or a stirrer attachment on a drill to mix the two components thoroughly. It is important to mix slowly and scrape the sides and bottom of the container while stirring to ensure a homogeneous mixture. Avoid stirring too vigorously as this can introduce air bubbles into the resin.
Using Pigments and Dyes for Color Effects
Epoxy resin can be colored using pigments or dyes to create various color effects in your artwork. There are numerous options available, including transparent, translucent, and opaque pigments. Transparent pigments allow the resin’s natural clarity to shine through, while opaque pigments can create vibrant and solid colors. Translucent pigments offer a balance between transparency and opacity, resulting in a semi-transparent finish.
To add pigments or dyes to the epoxy resin, simply mix them in with the resin and hardener before stirring. Start by adding a small amount of pigment or dye and gradually increase until you achieve your desired color intensity. Keep in mind that the resin will appear darker when wet, so adjust the pigment amount accordingly.
Avoiding Common Mixing Mistakes
When mixing epoxy resin, it is crucial to avoid common mistakes that can affect the quality of your artwork. Firstly, always measure the resin and hardener accurately using the recommended measuring tools. Even a slight variation in the ratio can result in an improper chemical reaction and affect the resin’s curing process.
Secondly, mix the epoxy resin slowly and thoroughly. Rushing the mixing process or not scraping the sides and bottom of the container can lead to uneven curing and visible brush marks or inconsistencies in the resin’s appearance. Take your time to ensure a homogeneous mixture.
Finally, avoid overworking the resin during the mixing process. Overmixing can introduce excessive air bubbles into the resin, which can be difficult to remove or eliminate later. Mix the resin just until the components are fully combined, and avoid excessive stirring.
Pouring and Manipulating the Resin
The pouring and manipulating stage is where you can get creative and achieve various artistic effects with epoxy resin. There are several techniques and methods you can use to pour and manipulate the resin, depending on the desired outcome of your artwork.
Pouring Techniques for an Even Coat
To achieve an even coat of epoxy resin on your surface, start by pouring a small amount of resin onto the center of the surface. Use a spreader or an applicator tool to evenly distribute the resin, working from the center towards the edges. Continue pouring and spreading the resin until the entire surface is covered. Ensure that the resin layer is not too thin or too thick, as this can affect the curing process and the final appearance of the artwork.
Creating Depth and Texture
If you want to create depth and texture in your artwork, consider layering multiple coats of epoxy resin. After pouring the initial coat as mentioned above, wait for it to partially cure, but still be slightly tacky. This is known as the “sticky stage.” Then, pour another coat of resin on top, using a similar spreading technique. The partially cured layer will allow the new resin to adhere and create a sense of depth and dimension in your artwork.
You can also manipulate the resin further by using different tools, such as brushes, palette knives, or even your fingers. Create swirls, waves, or other patterns by gently dragging or swirling the resin on the surface. Experiment with different techniques to achieve unique textures and effects.
Incorporating Additives and Inclusions
Another exciting aspect of working with epoxy resin is the ability to incorporate various additives and inclusions into your artwork. Additives, such as glitter, mica powder, or metallic flakes, can add a touch of sparkle and enhance the visual appeal of your artwork. Inclusions, such as dried flowers, shells, or other small objects, can be embedded in the resin to create a visually striking and personalized piece.
When adding additives or inclusions, sprinkle or arrange them on the resin surface before it cures. Use a toothpick or a small tool to position them precisely and ensure they are fully submerged in the resin. This will prevent any protruding or loose elements in your artwork.

Curing and Drying
After pouring and manipulating the epoxy resin, it is important to understand the curing process and factors that can affect the resin’s drying time.
Understanding the Curing Process
The curing process of epoxy resin involves a chemical reaction between the resin and hardener, which causes the mixture to harden and solidify. The curing time depends on various factors, including the type of epoxy resin used, the ambient temperature, humidity levels, and the thickness of the resin layer. Generally, epoxy resin takes anywhere from 24 to 72 hours to fully cure and reach its maximum hardness.
Factors Affecting Resin Drying Time
Several factors can affect the drying and curing time of epoxy resin. Temperature plays a crucial role, as lower temperatures can significantly slow down the curing process, while higher temperatures can speed it up. Aim for an ambient temperature between 70 to 80 degrees Fahrenheit for the best results.
Humidity levels can also impact the drying time of epoxy resin. High humidity can prolong the curing process and result in a longer drying time, while low humidity can accelerate it. Therefore, try to work in an environment with moderate humidity levels for optimal curing.
The thickness of the resin layer is another factor to consider. Thicker layers require more time to cure compared to thinner layers. If you are creating artwork with multiple layers or a deep pour, be prepared for an extended curing time.
Applying Heat for Accelerated Curing
If you need to speed up the curing process, you can use heat to accelerate the resin’s drying time. However, it is crucial to use heat cautiously and follow the manufacturer’s instructions to prevent any damage to your artwork or safety hazards.
A heat gun or a torch can be used to gently warm the surface of the resin, which speeds up the chemical reaction and accelerates the curing process. Use the heat source at a safe distance from the artwork and move it in a sweeping motion to avoid overheating or scorching the resin. Be mindful of any flammable materials nearby and always prioritize safety when using heat.
Finishing and Polishing
Once the epoxy resin has fully cured, it is time to finish and polish your artwork to achieve a professional and glossy finish. This stage involves several steps to smoothen the surface and add a protective layer.
Sanding and Smoothening the Surface
Before applying any clear coats or sealants, it is essential to sand the cured resin surface to remove any imperfections or unevenness. Start with a lower grit sandpaper, such as 200 or 300, and gradually work your way up to a higher grit, such as 1000 or 2000. Use a sanding block or a sanding machine to ensure a smooth and even finish. Wet sanding can also be done for a finer finish.
While sanding, keep a constant check on the surface to avoid sanding too deeply or creating swirl marks. Once the surface feels smooth and free from any imperfections, wipe it down with a damp cloth to remove any dust or debris.
Applying Clear Coats and Sealants
To achieve a glossy and protective finish, apply clear coats or sealants on the sanded surface. This step enhances the resin’s clarity and depth while providing a durable and long-lasting protection for your artwork.
There are various options available for clear coats or sealants, including epoxy resin-based products specifically designed for this purpose. Follow the manufacturer’s instructions and apply the clear coat evenly and smoothly using a brush or a roller. Allow each coat to dry completely before applying subsequent layers. Multiple coats may be required to achieve the desired level of gloss and protection.
Achieving a Glossy Finish
To achieve a high-gloss finish, consider using a polishing compound or a resin-specific polishing agent. Apply the polishing compound or agent to a soft cloth or a buffing pad, and gently polish the surface of the cured resin in a circular motion. This will remove any fine scratches or haze and reveal the resin’s full shine and transparency.
Remember to always follow the manufacturer’s instructions when using polishing compounds or agents and take caution not to apply too much pressure, as this can damage the resin’s surface.
Creating Artistic Effects
Epoxy resin offers endless possibilities for creating artistic effects and experimenting with various art techniques. Here are a few ideas to inspire your creativity:
Using Resin with Various Art Techniques
Epoxy resin can be combined with other art techniques, such as acrylic pouring, resin casting, or resin molding, to create unique and visually striking artwork. Experiment with different combinations and explore the endless possibilities of epoxy resin to elevate your artistry.
Creating Resin Geodes and Resin River Tables
Resin geodes and resin river tables have gained popularity in recent years due to their stunning aesthetics. Resin geodes mimic the natural formations found in geodes, using pigmented resin and various inclusions to create a mesmerizing effect. Resin river tables feature a river-like design made by pouring colored resin into a groove or crevice on a flat surface, creating a striking contrast between the resin and the base material.
To create resin geodes or resin river tables, follow the same basic steps mentioned earlier and incorporate different techniques, such as layering, embedding, or manipulating the resin. Take your time to experiment and find your unique style in these captivating art forms.
Experimenting with Resin Casting
Resin casting involves pouring epoxy resin into molds to create three-dimensional objects or sculptures. This technique allows for detailed and intricate designs that can be transformed into decorative pieces, jewelry, or even functional items, such as coasters or paperweights.
To experiment with resin casting, you will need silicone molds of various shapes and sizes. Mix and pour the epoxy resin into the molds, incorporating additives or inclusions as desired. Once the resin has cured, carefully remove it from the molds and polish if necessary. Resin casting offers endless opportunities for creativity and personal expression.
Conclusion
Creating stunning artwork with epoxy resin is a captivating and fulfilling artistic process. With the knowledge and techniques shared in this article, you are now equipped to embark on your resin art journey. From understanding the properties and benefits of epoxy resin to choosing the right materials, preparing the workspace, preparing the surface, mixing and manipulating the resin, curing and drying, finishing and polishing, and creating various artistic effects, you have learned the essential steps to create breathtaking artwork using epoxy resin. Let your creativity soar and unleash your artistic potential with epoxy resin, and be amazed at the stunning results you can achieve.


