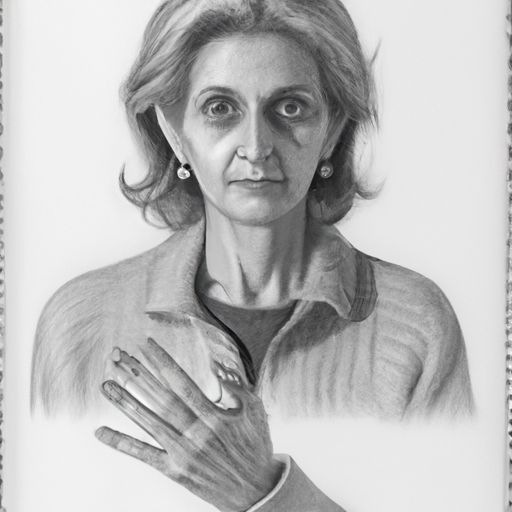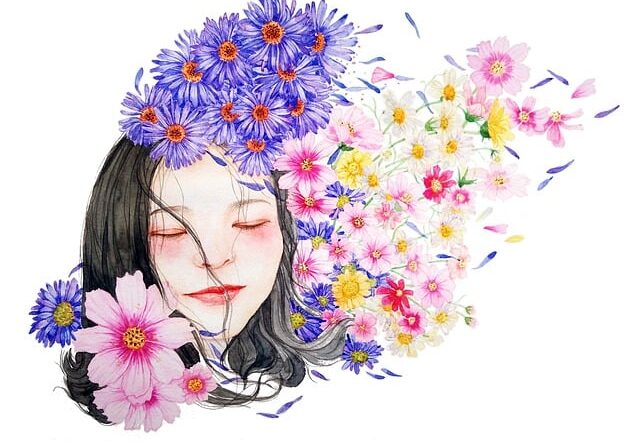
Have you ever wanted to learn how to draw a realistic portrait? Maybe you’ve always been fascinated by the skill and talent that goes into creating lifelike drawings of people. Well, you’ve come to the right place! In this article, I’m going to show you some simple steps on how to draw a realistic portrait. Trust me, it’s not as difficult as it seems!
So, how do you start? First of all, you’ll need some basic drawing materials like pencils, erasers and paper. Next, find a reference photo of a person’s face that you want to draw. This will help you have a clear idea of the features and proportions you need to focus on. Then, take a look at our step-by-step instructions to learn the specific techniques that will help you capture the likeness of the subject. By following these tips and practicing regularly, you’ll be amazed at how quickly your portraits start to look more realistic. Stay tuned for the rest of this article, where we’ll delve into the nitty-gritty details of each step!
Table of Contents
How to Draw a Realistic Portrait
Drawing a realistic portrait can seem daunting, but with the right techniques and patience, you can create a stunning piece of art. In this tutorial, you will learn the step-by-step process of drawing a realistic portrait. So gather your materials, choose a reference image, and let’s get started!
Preparation
Gather Materials
Before you begin, make sure you have all the necessary materials. You will need a sketchbook or drawing paper, a set of graphite pencils ranging from 2H to 6B, an eraser, and a pencil sharpener. Having a blending stump or tortillon can also be helpful for blending and smudging.
Choose a Reference Image
Selecting a good reference image is crucial for creating a realistic portrait. Look for a high-resolution photograph with good lighting and clear details. Choose an image that you find interesting and that challenges you as an artist. Remember to respect copyright laws and ensure you have the right to use the reference image.
Basic Sketching
Identify Facial Proportions
To start, lightly sketch a rough outline of the head and divide it into thirds vertically and horizontally. This will help you accurately place the facial features. The eyes should fall on the horizontal middle line, the eyebrows and nostrils on the upper third line, and the mouth on the lower third line.
Block Out Overall Shape
Using the reference image as a guide, block out the overall shape of the head using basic geometric shapes. This step helps establish the correct proportions and serves as a foundation for adding more detail later on. Pay attention to the angle and tilt of the head to capture the right perspective.
Adding Details
Start with the Eyes
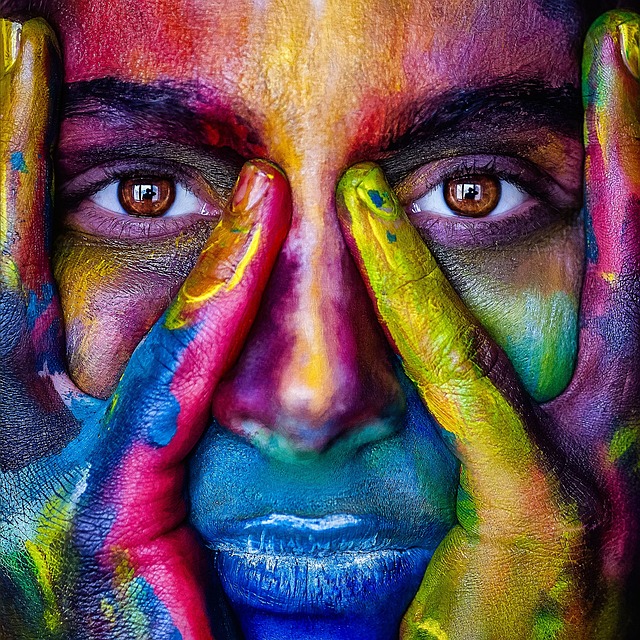
The eyes are often considered the focal point of a portrait, so it’s essential to give them attention to detail. Begin by lightly sketching the basic shapes of the eyes, including the iris and pupil. Pay close attention to the placement and size, as even a slight deviation can drastically change the likeness.
Focus on the Nose and Mouth
Next, move on to the nose and mouth. Observe the reference image carefully, paying attention to the shape, size, and placement of these features. Use light, confident strokes to capture the structure and proportions. Remember to adjust the angles and curves to match the individual you are drawing.
Capture the Shape of the Face
Once you have added the eyes, nose, and mouth, focus on capturing the overall shape of the face. Pay attention to the curves and angles of the reference image and translate them onto your drawing. Use light shading to define the contours of the face, creating depth and adding dimension to your portrait.
Shading and Highlights
Understanding Light and Shadow
Understanding how light interacts with the face is key to creating a realistic portrait. Observe the reference image and determine the direction of light. This will help you identify the areas of light and shadow on the face. Use lighter pencil grades for the highlighted areas and darker grades for the shadowed areas.
Gradually Build Up Shading
Start by shading the darkest areas of the face, such as the hollows of the eyes and the nostrils. Gradually build up the shadows by adding layers of graphite. Pay attention to the subtle changes in value and use varying pressure on your pencil to create smooth transitions between light and dark areas.
Add Highlights and Reflections
To make your portrait come alive, add highlights and reflections to the eyes and other shiny surfaces. Leave areas representing the highlights untouched or use an eraser to lift off some graphite. This technique will create the illusion of light bouncing off the surface and add a realistic touch to your artwork.
Working on Hair
Study Hair Texture
Hair can be challenging to draw, but with careful observation and practice, you can achieve realistic results. Study the texture and flow of the hair in the reference image. Notice how individual strands overlap and create different patterns. Understanding these details will help you recreate them in your drawing.
Create Individual Strands
Instead of attempting to draw every hair strand, focus on capturing the overall shape and texture of the hair. Use short, directional strokes to suggest the flow and movement. Add darker strands to show depth and lighter strands to represent highlights and shine. Remember to be patient and take your time with this step.
Blend and Add Depth
To create a more realistic look, blend the pencil strokes using a blending stump or tortillon. This will smooth out harsh lines and create a softer appearance. Additionally, add layers of shading to build up the depth and volume of the hair. Pay attention to areas of light and shadow to convey the hair’s three-dimensional form.
Refining the Features
Fine-tuning the Eyes
Once you have completed the initial details, spend some time refining the eyes. Pay attention to the shape of the eyelids, the position of the eyelashes, and any other intricate details. Use a sharp pencil or an eraser to adjust the highlights and reflections in the eyes, making them appear more realistic and lively.
Refining the Nose and Mouth
Similarly, refine the nose and mouth by adding subtle nuances and details. Observe the reference image to capture the unique characteristics of these features. Use soft pencil strokes to add textures, such as the lines on the lips or the contours of the nose. Continuously compare your drawing to the reference image to ensure accuracy.
Perfecting the Shape of the Face
Take a step back and assess the overall shape and proportions of the face. Make any necessary adjustments to ensure a high degree of accuracy. Pay close attention to the curves of the cheeks, chin, and forehead. Use light shading to smooth out any harsh lines and create a more refined and realistic appearance.
Adding Facial Expressions
Study Facial Expressions
To add interest and personality to your portrait, study facial expressions. Look at photographs or observe people around you to understand how different emotions are reflected through the face. Pay attention to how the eyebrows, eyes, and mouth change in response to different emotions.
Portray Emotions with Shadows and Lines
Once you have chosen an emotion to portray in your portrait, use shadows and lines to enhance the expression. Darkening or lightening certain areas can create the illusion of a furrowed brow, a smile, or a frown. Experiment with different shading techniques to capture the desired emotional effect.
Final Touches
Adjusting Contrast and Value
Take a moment to evaluate the overall contrast and value in your drawing. Adjust the shading and highlights as necessary to create a balanced composition. Darken shadows, deepen highlights, and refine transitions between light and dark areas. This step will bring out the depth and three-dimensionality of your portrait.
Refining Edges
Pay attention to the edges of your drawing and make any necessary adjustments. Soften or sharpen edges to create a more realistic look. Use a kneaded eraser or a blending stump to achieve smooth transitions between different areas. This step will help to define each feature and give your portrait a polished finish.
Sign Your Work
Finally, sign your artwork to mark it as your own. Choose a discreet spot, such as the bottom corner, and use a sharp pencil or a fine pen. Signing your work adds a personal touch and shows your pride in your creation.
Common Mistakes to Avoid
Overworking the Details
One common mistake is getting too caught up in the tiny details too early in the process. Remember to start with a basic sketch and gradually add more complexity. By building up the details, you can maintain control over the overall accuracy of your portrait.
Incorrect Proportions
Another mistake to avoid is incorrect proportions. Take the time to measure and compare different features of your drawing to the reference image. Pay attention to the angles, distances, and sizes of the facial elements. This will ensure that your portrait accurately represents the individual you are drawing.
Lack of Patience
Drawing a realistic portrait takes time and patience. Avoid rushing through the process and take breaks when needed. Step away from your drawing for a while and return with fresh eyes. By practicing patience, you will be able to achieve greater accuracy and detail in your artwork.
Conclusion
Creating a realistic portrait is a rewarding artistic accomplishment. By following this step-by-step tutorial, you have learned the key techniques for drawing a lifelike portrait. Remember to celebrate your artistic achievement and continue to practice and improve your skills. With dedication and perseverance, you can create stunning portraits that capture the essence of the human face. Happy drawing!
