Are you tired of ordering pizza every time you have a craving? Well, why not try making your own homemade pizza dough? It’s easier than you think and the taste is simply unbeatable. In this article, we’ll walk you through the process step by step, so you can enjoy the satisfaction of creating your own delicious pizza from scratch.
First things first, let’s talk about the ingredients you’ll need. You’ll need flour, water, yeast, salt, and a little bit of olive oil. Most of these items are probably already sitting in your pantry, so you won’t have to make a special trip to the grocery store. Once you have all your ingredients gathered, you’re ready to start making the dough.
To make the pizza dough, you’ll need to mix the flour, yeast, and salt together in a bowl. Gradually add the water and olive oil while stirring the mixture with a wooden spoon. Once the ingredients are combined, it’s time to knead the dough. This may take a few minutes of vigorous kneading until it becomes smooth and elastic. Once you’ve achieved the desired consistency, let the dough rise for about an hour until it doubles in size.
Making your own pizza dough is not only fun, but it also allows you to be creative with your toppings. Once you’ve mastered the art of making the dough, you can experiment with different flavors and toppings to create your perfect pizza. So, if you’re ready to take your pizza game to the next level, keep reading our article for more tips and tricks to make the best homemade pizza dough you’ve ever tasted.
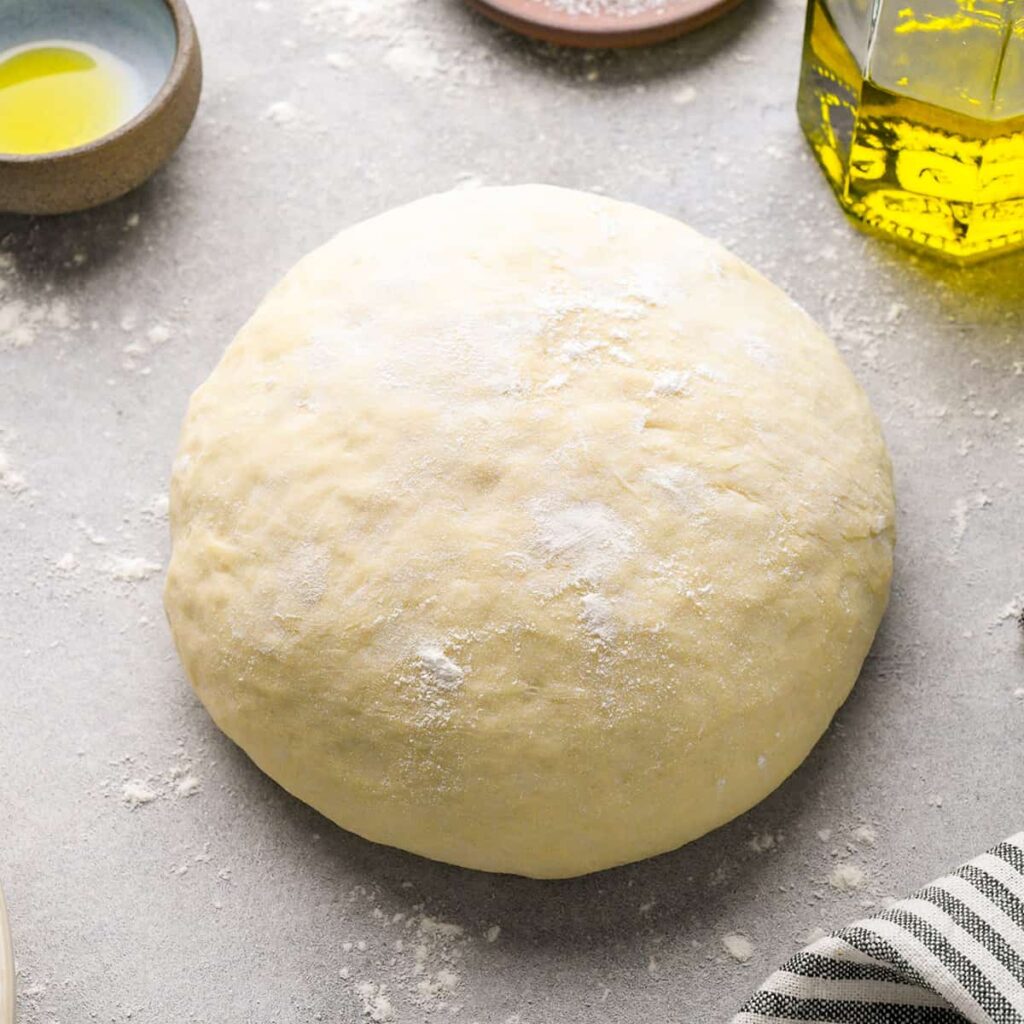
Table of Contents
How to Make Homemade Pizza Dough
Making your own homemade pizza dough is not only fun, but it also allows you to create a delicious and flavorful crust that can be customized to your liking. Whether you prefer a thin and crispy crust or a thick and chewy one, making pizza dough from scratch gives you full control over the taste and texture of your pizza. In this article, we will guide you through the step-by-step process of making homemade pizza dough, from gathering the necessary ingredients to baking the perfect crust.
Preparing the Ingredients
Gathering the Necessary Ingredients
Before you start making your pizza dough, it’s essential to gather all the necessary ingredients. Here’s what you’ll need:
- 2 1/4 cups of all-purpose flour
- 1 teaspoon of salt
- 1 teaspoon of sugar
- 1 package (2 1/4 teaspoons) of active dry yeast
- 1 cup of warm water
- 2 tablespoons of olive oil
Make sure you have these ingredients on hand before you begin the process.
Measuring the Ingredients
Accurate measurement of ingredients is crucial for achieving the desired consistency in your pizza dough. To measure the flour, spoon it into a measuring cup and level it off with a knife. For the yeast, use a measuring spoon and level it as well. Measuring the water accurately will ensure the dough isn’t too dry or too sticky.
Mixing the Dough
Combining Dry Ingredients
In a large mixing bowl, combine the all-purpose flour, salt, and sugar. Use a whisk or a spoon to ensure all the dry ingredients are thoroughly mixed. The salt and sugar not only add flavor but also help activate the yeast.
Adding Wet Ingredients
In a separate small bowl, combine the warm water and yeast. Stir gently and let it sit for about five minutes until the yeast is dissolved and becomes frothy. This step is important as it proves that the yeast is active. After five minutes, add the olive oil to the yeast mixture and give it another gentle stir.
Gradually pour the yeast mixture into the dry ingredients while stirring with a wooden spoon or using a stand mixer with a dough hook attachment. Continue mixing until the dough comes together and starts to pull away from the sides of the bowl.
Kneading the Dough
Using the Proper Technique
Once the dough comes together, it’s time to knead it. Kneading is essential as it activates the gluten in the flour and creates a smooth and elastic dough. Flour your work surface and transfer the dough onto it. Use the heel of your hand to push the dough away from you, then fold it back towards you. Rotate the dough a quarter turn and repeat the process. Continue this motion for about 8-10 minutes, or until the dough becomes smooth and springy.
Developing the Gluten
As you knead the dough, you will notice a change in its texture. This is due to the development of gluten, which gives the dough its elasticity. Gluten is formed when the proteins in the flour react with water and are stretched and folded during the kneading process. Properly developed gluten will result in a lighter and chewier crust.
Proofing the Dough
Allowing the Dough to Rise
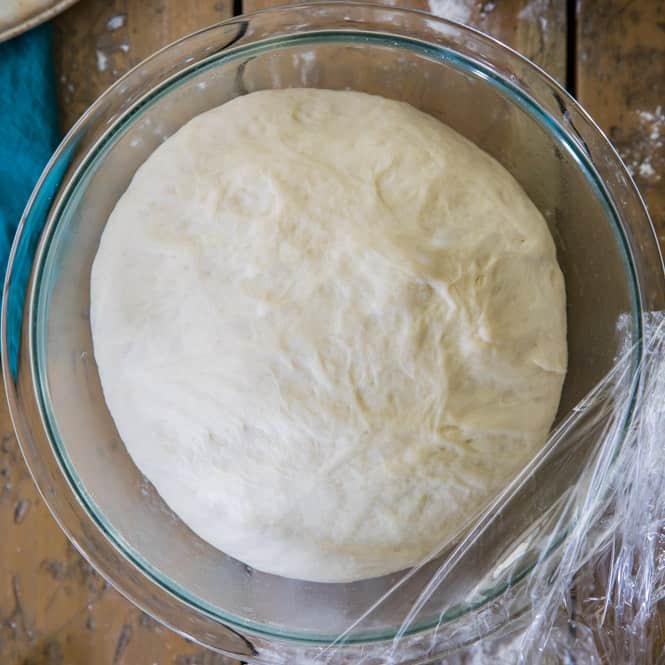
After kneading, you need to let the dough rise. This step, known as proofing, allows the yeast to ferment and produce carbon dioxide, which creates air bubbles in the dough and makes it rise. Lightly oil a large bowl, place the dough in it, and cover it with a clean kitchen towel or plastic wrap. Leave the bowl in a warm and draft-free area for about one to two hours, or until the dough has doubled in size.
Creating a Warm Environment
To ensure proper proofing, it’s essential to create a warm environment for the dough. You can place the covered bowl near a warm oven or on top of a radiator. If the weather is cold, you can preheat your oven to the lowest setting, turn it off, and then place the covered bowl inside. The residual heat will provide a warm environment for the dough to rise.
Shaping and Resting the Dough
Dividing the Dough
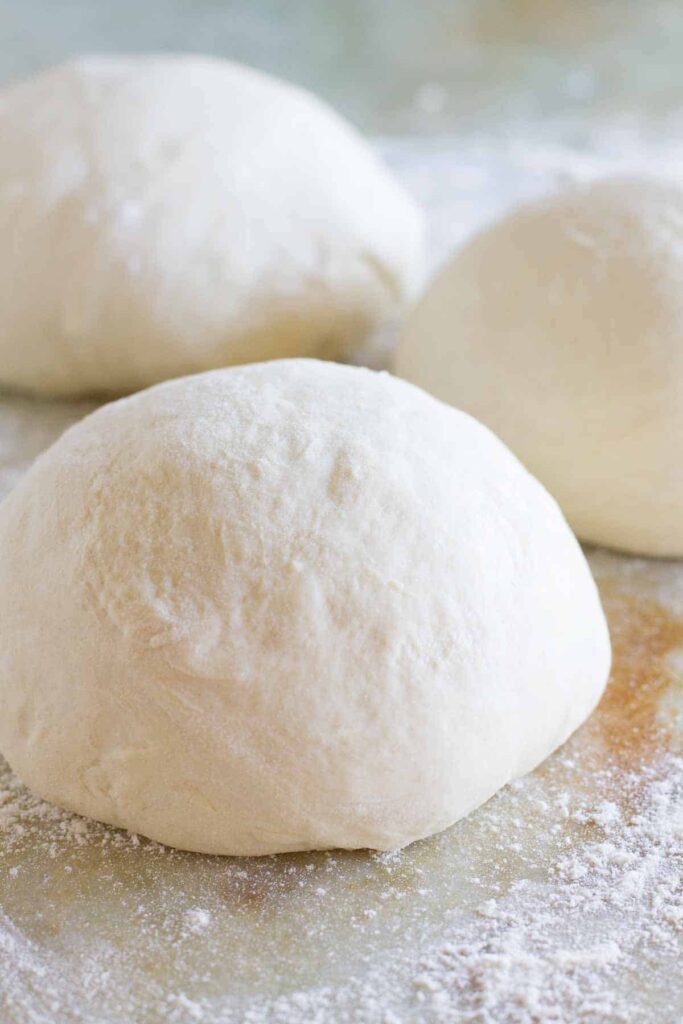
Once the dough has doubled in size, gently deflate it by pressing down with your fingertips. Transfer the dough to a lightly floured surface and divide it into two equal portions. You can use a sharp knife or a dough scraper to make a clean cut. This division allows you to make two pizzas.
Resting the Dough
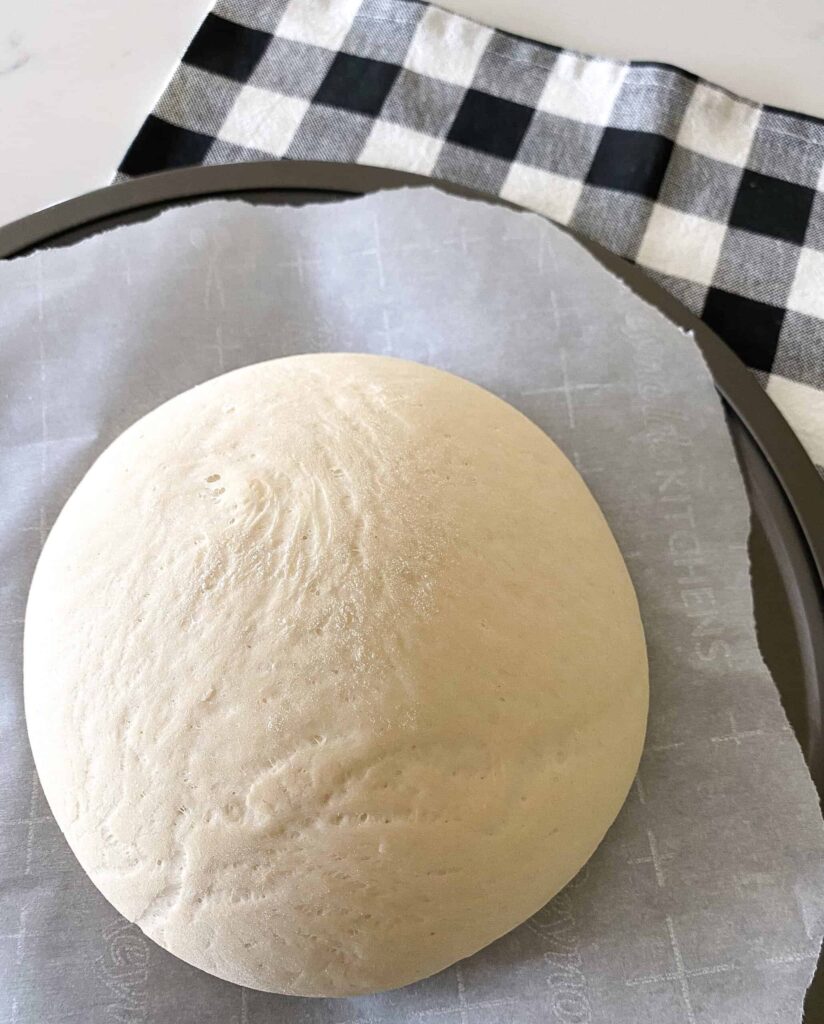
Before rolling out the dough, it’s important to let it rest. This resting period relaxes the gluten, making the dough easier to handle and preventing it from shrinking back during shaping. Form each portion into a smooth ball and place them on a lightly floured surface. Cover them with a clean kitchen towel or plastic wrap and let them rest for about 10-15 minutes.
Rolling the Dough
Using a Rolling Pin
After the resting period, it’s time to roll out the dough. Lightly flour your work surface and place one dough ball on it. With a rolling pin, start rolling the dough from the center towards the edges, applying gentle pressure. Turn the dough a quarter turn and continue rolling until you achieve your desired thickness. Repeat the process with the second dough ball.
Achieving the Desired Thickness
The thickness of your pizza crust is a matter of preference. If you prefer a thin and crispy crust, roll the dough out to a thickness of about 1/8 inch. For a thicker and chewier crust, roll the dough out to about 1/4 inch. Remember to roll the dough evenly to ensure uniform baking.
Topping the Pizza
Choosing the Desired Toppings
Now comes the fun part – topping your pizza! Choose your favorite toppings based on your preferences. Classic options include tomatoes, mozzarella cheese, basil, and oregano. However, feel free to experiment with various vegetables, meats, and cheeses to create unique flavor combinations.
Arranging the Toppings
Spread a thin layer of pizza sauce onto the rolled-out dough, leaving a small border around the edges for the crust. Sprinkle shredded cheese evenly over the sauce, followed by your desired toppings. Be creative with the arrangement to ensure an even distribution of flavors.
Baking the Pizza
Preheating the Oven
Before baking your pizza, preheat your oven to the highest temperature it can reach. For most home ovens, this is around 500°F (260°C). Preheating ensures that the oven is hot enough to cook the pizza dough quickly and create a crispy crust.
Placing the Pizza in the Oven
Transfer the topped pizza to a pizza stone or a baking sheet lined with parchment paper. Carefully slide the pizza onto the preheated oven rack or the hot baking stone. Bake for approximately 10-15 minutes or until the crust is golden brown and the cheese is bubbly and melted.
Checking for Doneness
Observing the Crust
To determine if your pizza is cooked, observe the crust. A properly baked crust will be golden brown and crisp on the outside while remaining soft and chewy on the inside. If the edges of the crust start to brown too quickly, you can cover them with a strip of aluminum foil to prevent burning.
Checking the Cheese
In addition to the crust, the cheese should also be thoroughly melted and slightly browned. Keep an eye on the cheese during baking to ensure it doesn’t burn. If needed, you can broil the pizza for a minute or two to give the cheese a final melt and a beautiful golden color.

Conclusion
Congratulations, you have successfully made homemade pizza dough! By following these step-by-step instructions, you can enjoy the delight of creating your own delicious pizza crust. From gathering the necessary ingredients to rolling out the dough and arranging your favorite toppings, making homemade pizza dough is a rewarding and flavorful experience. So, invite your friends and family, and enjoy the fruits of your labor with a homemade pizza night.


