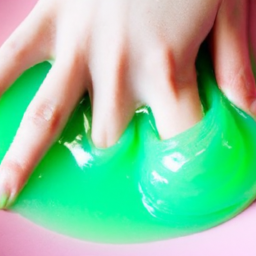
Do you want to know how to make slime at home? Well, it’s your lucky day because I’m here to teach you the ins and outs of slime-making. Trust me, this is a fun and easy project that you can do with just a few simple ingredients. So grab your glue and get ready to dive into the world of gooey slime!
First things first, let’s talk about the basic ingredients you’ll need. You’ll need some clear or white school glue, which you can easily find at any craft or stationery store. You’ll also need some liquid starch, which can be found in the laundry aisle of most grocery stores. And of course, don’t forget about the fun part – coloring! You can use food coloring, acrylic paint, or even glitter to give your slime a pop of color.
Now that you have your ingredients ready, it’s time to get started. In a bowl, mix together equal parts of glue and liquid starch. You can start with 1/2 cup of each and then add more if needed. Stir the mixture thoroughly until it starts to come together and get less sticky. This is where the magic happens! And don’t worry if it looks a bit runny at first, it will thicken up as you keep stirring.
Now that you’ve got the basics down, it’s time to unleash your creativity. You can add some color to your slime by mixing in a few drops of food coloring or acrylic paint. Go wild with the colors and experiment with different combinations. You can also add in some glitter or tiny foam beads for extra texture and sparkle. Once you’re satisfied with your slime, take it out of the bowl and start playing with it. Stretch it, squish it, and have fun exploring all the different ways it can move.
So there you have it – a quick crash course on how to make slime at home. But this is just the tip of the iceberg! In my upcoming article, I’ll be diving deeper into the world of slime-making. We’ll explore different variations, like fluffy slime and butter slime, and I’ll share some pro tips and tricks to take your slime game to the next level. So stay tuned for more slime fun!
Table of Contents
How to Make Slime at Home
Are you looking for a fun and creative activity to do at home? Making slime is a perfect choice! Slime is a gooey and stretchy substance that provides hours of entertainment for both kids and adults. Plus, it’s incredibly easy to make with just a few simple ingredients. In this article, we will guide you through the process of making slime step by step, share tips and tricks, address safety precautions, explore alternate ingredients, discuss common issues and solutions, provide ideas for creative slime, and give you advice on clean-up and storage. Let’s dive in!
Ingredients
Before we get started, let’s gather all the necessary ingredients. Here’s what you’ll need:
Elmer’s glue
You can find this type of glue at most craft stores or online. Elmer’s glue is a popular choice for slime-making due to its consistency and availability.
Water
Water is essential for diluting the glue and creating the desired texture of slime.
Food coloring
Adding food coloring to your slime will give it a vibrant and colorful look. You can choose any color you like or even mix different colors for a more unique result.
Borax powder
Borax powder is a crucial ingredient for creating the slime’s consistency. It acts as a binding agent and helps the glue molecules stick together to form a cohesive slime.
Optional: glitter
If you want to add a touch of sparkle to your slime, you can include glitter as an optional ingredient. It’ll add that extra wow factor and make your slime even more fun to play with.
Preparing the Slime
Now that we have all the necessary ingredients, let’s move on to the step-by-step process of making slime.
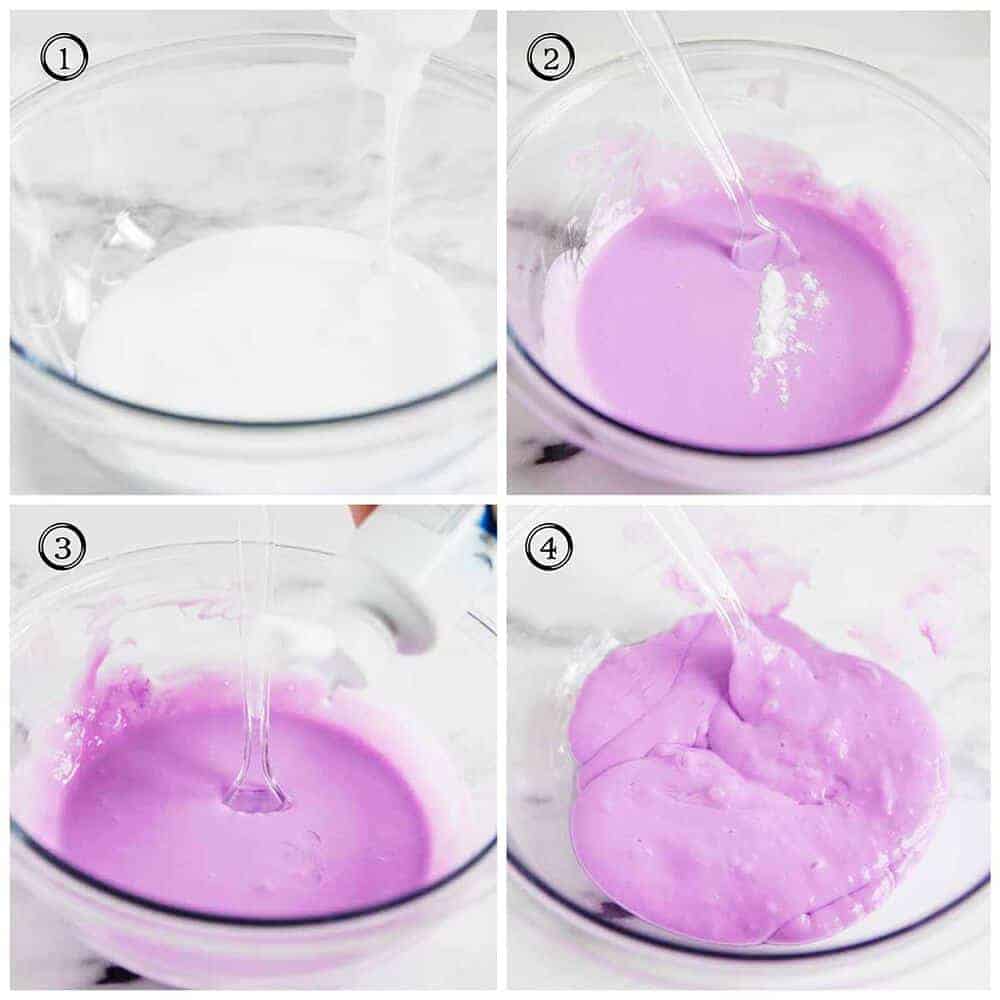
Step 1: Measure the glue
Start by measuring the desired amount of Elmer’s glue. You can pour it directly into a mixing bowl or any container you prefer.
Step 2: Dilute the glue
Add some water to the glue. The ratio of glue to water should be approximately 1:1. Start with a small amount of water and gradually add more until you achieve the desired consistency. Remember to stir the mixture as you go to ensure even distribution.
Step 3: Add food coloring
Now it’s time to add some color to your slime! Drop a few drops of your chosen food coloring into the glue mixture. Start with a small amount and gradually increase until you achieve the desired color intensity. Stir well to distribute the color evenly.
Step 4: Prepare the borax solution
In a separate container, dissolve a teaspoon of borax powder in warm water. Stir until the powder is completely dissolved. It’s important to handle borax with care and avoid inhaling or ingesting it.
Step 5: Mix the borax solution with the glue
Slowly pour the borax solution into the glue mixture while stirring continuously. As you mix, you will start to notice the slime forming. Keep stirring until the slime fully comes together and is no longer sticky.
Step 6: Stir and mix thoroughly
Once the slime has formed, it’s time to give it a good stir and mix it thoroughly. This will ensure that all the ingredients are well incorporated and the slime has the desired consistency.
Step 7: Optional: Add glitter
If you want to make your slime extra fun and sparkly, now is the perfect time to add glitter! Sprinkle some glitter onto the slime and give it a final mix to evenly distribute the glitter.
Tips and Tricks
Now that you’ve successfully made your own slime, here are some tips and tricks to enhance your slime-making experience.
Tip 1: Adjust the slime’s consistency
If your slime turns out too sticky, you can add a little more borax solution to firm it up. On the other hand, if your slime is too stiff, you can add a small amount of water to soften it. Play around with the proportions until you achieve the perfect texture.
Tip 2: Experiment with different colors
Don’t be afraid to experiment with different food coloring combinations to create unique and vibrant colors for your slime. Mix and match colors to personalize your slime and make it even more visually appealing.
Tip 3: Store slime properly
To keep your slime fresh and stretchy, store it in an airtight container or a zipper bag when not in use. This will prevent it from drying out and ensure you can enjoy it for a longer time.
Safety Precautions
While making slime is a fun activity, it’s important to follow certain safety precautions to ensure a safe experience for everyone involved.
Precaution 1: Do not ingest slime
Slime is not meant to be eaten and can cause harm if ingested. Keep slime away from your mouth and ensure children are aware that it is not edible.
Precaution 2: Avoid contact with eyes
Slime should not come into contact with your eyes as it may cause irritation. In case of accidental contact, rinse your eyes with plenty of water and seek medical attention if necessary.
Precaution 3: Supervise children during slime-making
If children are participating in the slime-making process, it’s important to supervise them to ensure they handle the ingredients responsibly and follow safety guidelines.
Alternate Ingredients
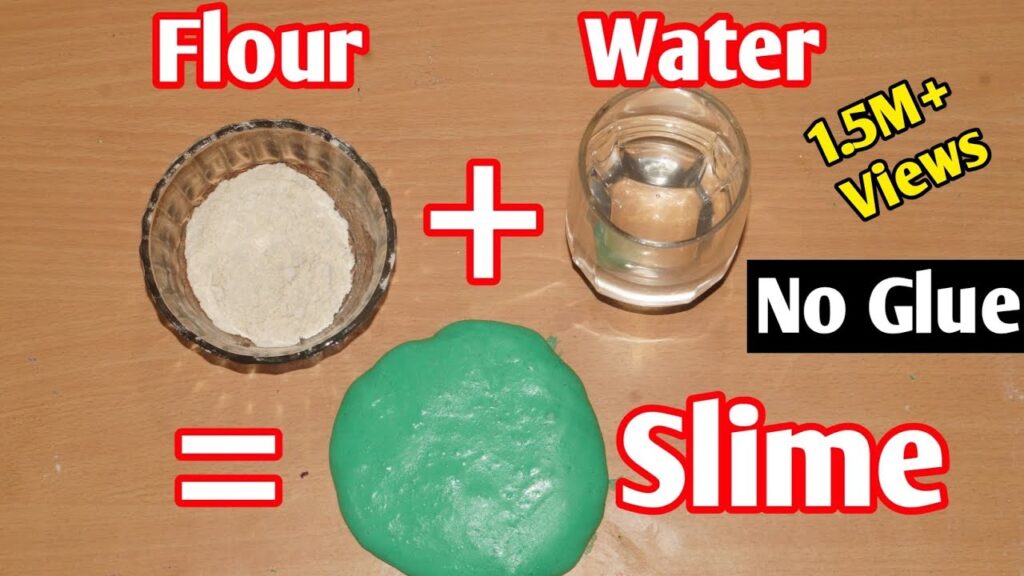
While the traditional recipe calls for Elmer’s glue and borax, there are alternative ingredients you can use to make slime. Here are a few options:
Option 1: Contact lens solution
Instead of borax, you can use contact lens solution. Look for a solution that contains boric acid, as it will provide the same binding effect as borax.
Option 2: Liquid starch
Liquid starch is another substitute for borax and can be found in the laundry section of most supermarkets. It creates a similar slime consistency when mixed with glue.
Option 3: Shampoo
Believe it or not, shampoo can also be used to make slime. Choose a clear or white shampoo and mix it with glue until you achieve the desired texture.
Common Issues and Solutions
Sometimes, even with the best instructions, issues can arise during the slime-making process. Here are some common issues and their solutions:
Issue 1: Slime is too sticky
If your slime is too sticky, try adding a small amount of borax solution and knead it into the slime. Gradually add more until the stickiness is reduced to your liking.
Issue 2: Slime is too watery
If your slime turns out too watery, it means you added too much water or didn’t add enough glue. Adjust the proportions by adding more glue and stirring until the slime thickens.
Issue 3: Slime is not stretchy
If your slime lacks stretchiness, it may be because you didn’t add enough borax solution. Start by adding a small amount of borax solution and knead it into the slime until it becomes more stretchy.

Creative Slime
While plain slime is fun on its own, you can take it to the next level by incorporating creative elements. Here are a few ideas to spark your creativity:
Idea 1: Adding beads or sequins
Sprinkle some beads or sequins into your slime to add texture and make it more visually appealing. This will give your slime a unique touch and make it even more fun to play with.
Idea 2: Mixing different types of glue
Experiment with different types of glue, such as glitter glue or glow-in-the-dark glue, to create slime with special effects. Mixing glues can result in interesting textures and colors.
Idea 3: Combining slime with other sensory materials
Enhance your slime by incorporating other sensory materials. Add in foam beads, scented oils, or even small rubber figurines to create a multi-sensory experience while playing with slime.
Clean-up and Storage
Now that you have enjoyed making and playing with your slime, it’s time to clean up and store it properly for future use.
Clean-up process
To clean up the slime, simply scrape any residue from surfaces and wash your hands with soap and warm water. Any sticky residue can easily be removed with a wet cloth or sponge.
Storing slime for later use
To keep your slime fresh and ready for future play, store it in an airtight container or a zipper bag. Make sure to remove any air bubbles before sealing the container to prevent the slime from drying out.
Reviving old slime
If your slime starts to dry out over time, you can revive it by adding a small amount of water or a drop of glue. Knead it thoroughly until it becomes stretchy again.

Frequently Asked Questions
Here are some frequently asked questions about making slime:
Question 1: Can I use clear glue instead of white glue?
Yes, you can use clear glue instead of white glue. Clear glue will give your slime a translucent appearance, while white glue will give it an opaque look.
Question 2: Can I use laundry detergent as a substitute for borax?
Yes, you can use laundry detergent as a substitute for borax. Look for a detergent that contains boric acid, as it will provide a similar binding effect.
Question 3: How long does homemade slime last?
The lifespan of homemade slime varies depending on storage conditions and frequency of use. If stored properly in an airtight container, slime can last for several weeks to a few months.
Conclusion
Congratulations on learning how to make slime at home! It’s a fun and engaging activity that allows you to unleash your creativity and enjoy the squishy, stretchy goodness of slime. Remember to follow the step-by-step instructions, stay safe by following the precautions, and have fun experimenting with different colors and textures. Making slime is not only a great way to spend time together as a family but also a chance to explore further variations and experiments. So go ahead, get creative, and have a blast with your homemade slime!
