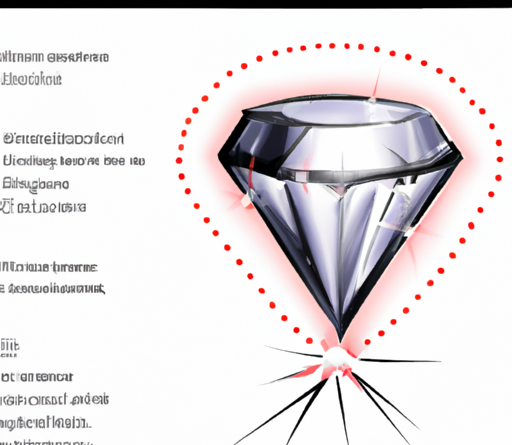
I bet you’ve always wondered how to draw a diamond, right? Maybe you’ve seen those beautiful, sparkling gemstones in jewelry stores and wondered if you could ever create something just as stunning. Well, good news! In this article, we’re going to teach you exactly how to draw a diamond step by step. Whether you’re an aspiring artist or just looking for a fun creative activity, we’ve got you covered.
Now, let’s dive into the world of diamond drawing. First things first, you’ll want to gather your drawing materials. Grab a pencil, eraser, and a piece of paper. Once you have these ready, we can start the exciting process of creating a dazzling diamond masterpiece. Don’t worry if you’re not confident in your drawing skills yet – we’ll break it down into easy-to-follow steps. By the end of this article, you’ll have all the tips and tricks you need to draw a picture-perfect diamond. So, get ready to unleash your inner artist and let’s begin!
Table of Contents
How to Draw a Diamond
Drawing a diamond may seem like a daunting task, but with the right tools and a step-by-step approach, you can create a realistic and stunning diamond drawing. In this tutorial, we will guide you through the process of drawing a diamond, from sketching the basic shape to adding shadows, highlights, and color. So grab your pencil, ruler, and compass, and let’s get started!
Tools Required
Before we begin, make sure you have the necessary tools for this drawing tutorial. You will need a pencil, a ruler, and a compass. These tools will help you create precise lines and shapes, allowing you to achieve a more accurate and professional-looking drawing.
Step 1: Sketch the Basic Shape
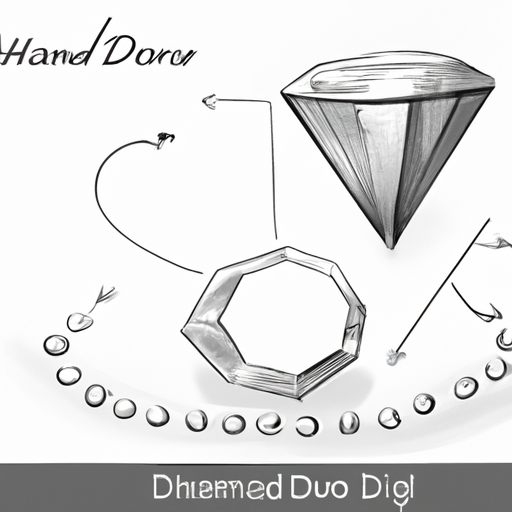
To start, sketch the basic shape of the diamond. Begin by drawing a vertical line that will serve as the center of the diamond. This line will help you maintain symmetry and proportion throughout the drawing. Next, draw two diagonal lines that intersect at the top of the vertical line, creating a triangular shape.
Step 2: Connect the Lines
In this step, you will connect the ends of the diagonal lines with straight lines, creating the sides of the diamond. Make sure these lines are straight and parallel to each other for a more realistic look. At the top of the diamond shape, draw another line to close off the trianglular shape and complete the basic outline of the diamond.
Step 3: Add Facets
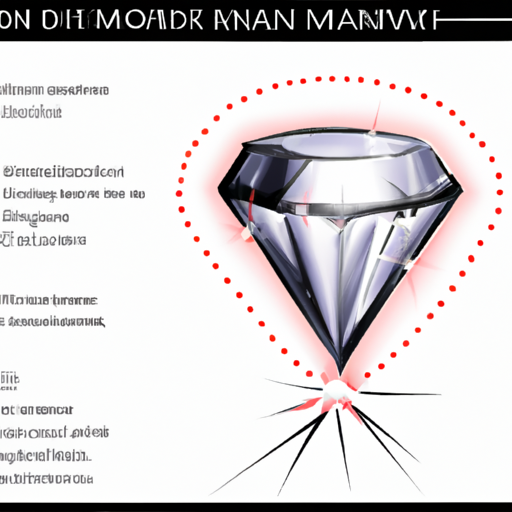
Now it’s time to add facets to the diamond. Within the diamond shape, draw diagonal lines that intersect each other, creating smaller triangular shapes. These lines will give the diamond its iconic faceted appearance. Repeat the diagonal lines on the other side of the diamond to maintain symmetry.
Step 4: Refine the Shape
In this step, you will refine the shape of the diamond by erasing unnecessary lines and smoothing out the edges. Take a closer look at your drawing and identify any lines or shapes that may not contribute to the overall form of the diamond. Gently erase these lines. Then, use your pencil to smooth out the edges of the diamond, making them appear more polished and refined.
Step 5: Add Shadows and Highlights
To make your diamond drawing more three-dimensional and realistic, it’s important to add shadows and highlights. First, identify the light source in your drawing, as this will determine where the shadows and highlights should be placed. Shade one side of the diamond darker, opposite to the light source, and leave the opposite side lighter. This contrast in shading will create the illusion of depth and make your diamond appear more realistic.
Step 6: Enhance the Details
Now it’s time to enhance the details of your diamond drawing. Add reflections to the diamond’s facets by lightly shading certain areas to create a glossy, reflective surface. Play around with different shading techniques to create depth and texture. Additionally, you can add smaller facets within the larger ones to further enhance the diamond’s brilliance and sparkle.
Step 7: Color the Diamond
Although diamonds are typically known for their colorlessness, adding color to your drawing can make it more visually appealing and vibrant. Choose colors that you feel would best represent the diamond, taking into consideration its transparency and ability to refract light. Start by choosing a base color for the diamond, and then add shading and blending to create a realistic appearance. Use light colors for the highlights and darker shades for the shadows, gradually blending them together for a smooth and seamless effect.
Step 8: Final Touches
In this final step, take a moment to clean up any stray lines or smudges that may have appeared throughout the drawing process. Use an eraser to gently remove any unwanted marks, ensuring that your diamond drawing looks clean and polished. If desired, you can also add any additional details or effects to further enhance your drawing and make it unique to your style.
Conclusion
Drawing a diamond may seem challenging, but by following these step-by-step instructions, you can create a realistic and stunning diamond drawing. Remember to take your time, observe the details, and be patient with the process. With practice, you will improve your drawing skills and be able to create even more intricate and detailed diamond drawings. So grab your tools, unleash your creativity, and start drawing beautiful diamonds today!


