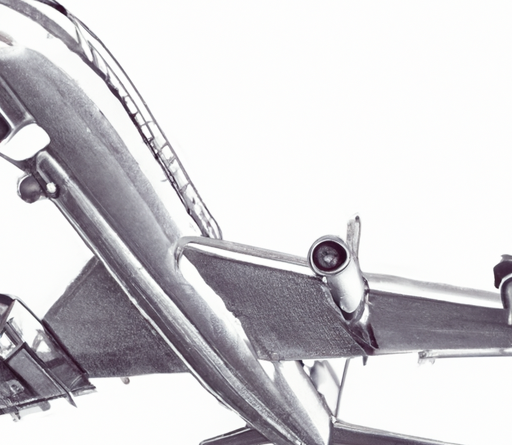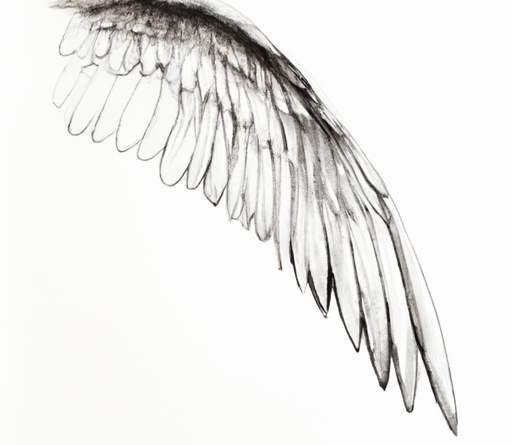
Do you want to learn how to draw wings? Well, you’re in luck! Whether you’re a beginner or already have some drawing skills, drawing wings can be a fun and creative activity. In this article, we’ll provide you with some tips and techniques to help you draw wings like a pro. First, let’s start with the basics. Wings come in all shapes and sizes, so it’s important to decide on the type of wings you want to draw. Are you going for a realistic look or something more stylized? Once you’ve determined the style, you can begin by sketching the basic shape of the wing. Remember, wings are not just a fan-shaped object. They have bones, feathers, and muscles that need to be taken into account. Look for references, such as photos or illustrations, to get a better understanding of wing anatomy.
In the next section, we’ll go into more detail on how to add the different elements to your wing drawing, such as feather details and shading. We’ll also discuss different wing positions and angles, so you can create dynamic and realistic wings in your artwork. So, if you’re ready to spread your artistic wings, let’s dive into the world of drawing wings in this comprehensive guide.
Table of Contents
How to Draw Wings 101
Have you ever wanted to learn how to draw wings but didn’t know where to start? Look no further! In this tutorial, we will guide you through the process of drawing wings step by step. Whether you are a beginner or an experienced artist, this guide will help you understand the structure of wings and provide you with tips and techniques to create realistic and stunning wing drawings. So grab your pencils and let’s get started!
Understanding the Structure of Wings
Before diving into the drawing process, it’s crucial to understand the basic anatomy of wings. Wings consist of several key components that contribute to their overall structure and function. These include the primary feathers, secondary feathers, wing joint, and the placement of wings on the body.
The Basic Anatomy of Wings
Wings typically have a series of primary feathers that radiate from the wing’s leading edge. These feathers are larger and more robust, providing the wing with strength and lift during flight. The secondary feathers, on the other hand, are smaller and attach to the wing’s trailing edge. Both primary and secondary feathers work together to create a surface area that pushes against the air, allowing birds, insects, and other winged creatures to soar through the sky.
Different Types of Wings
Wings come in various shapes and sizes, depending on the species they belong to. For example, bird wings are usually long and narrow, allowing for efficient flight. In contrast, butterfly wings are delicate and have vibrant patterns for display and camouflage. Understanding these variations in wing types will help you accurately depict different winged creatures in your drawings.
Understanding Proportions and Placement
Proper proportions and placement are crucial when drawing wings. The size and positioning of wings on the body can vary depending on the species and the desired pose of the creature. Study reference images or observe wings in nature to get a sense of how wings are proportioned and positioned on various animals. This will ensure that your wing drawings look realistic and true to life.
Sketching the Initial Outline
Now that you have a solid understanding of wing anatomy, it’s time to start sketching the initial outline of your wing drawing. But before you dive into the world of sketching, let’s explore the right tools for the job.
Choosing the Right Tools
To begin your wing drawing, you will need a few essential tools: paper, pencils of various hardness (such as HB, 2B, and 4B), an eraser, and a sharpener. The paper should be smooth and heavyweight, allowing you to achieve smooth lines without smudging. Having a range of pencil hardness will give you the flexibility to create both light guidelines and darker, more defined lines.
Creating the Basic Shape
Start by lightly sketching the basic shape of the wing using gentle, flowing lines. Remember to refer to your reference images or observations to ensure accuracy in shape and proportion. Pay attention to the curvature and length of the primary and secondary feathers, as well as the overall shape of the wing. Keep your lines loose and fluid, as you will refine and add details later.
Adding Guidelines for Feathers
Next, add guidelines for the feathers within the wing. These guidelines will help you maintain consistency and flow when sketching the individual feathers later on. Visualize how the primary and secondary feathers connect to the wing’s central framework and sketch light, curved lines to represent their placements. These guidelines will serve as the starting point for detailing the feathers in the following steps.
Adding Details and Texture
With the initial outline in place, it’s time to add detail and texture to your wing drawing. This will bring your drawing to life and create a realistic representation of wings.
Defining the Wing Joints
Start by defining the wing joints, where the primary and secondary feathers attach to the wing’s framework. These joints are usually more pronounced and can be depicted as a series of overlapping curved lines or small triangles. Pay attention to their placement and size, as accurate depiction of the joint will contribute to the overall realism of your wing drawing.
Outlining Individual Feathers
Now it’s time to tackle the most intricate part of drawing wings – the feathers. Begin by outlining the primary feathers, ensuring that each feather is properly proportioned and aligned with the previously sketched guidelines. Use light, curved strokes to define the basic shape of each feather. Then, move on to the secondary feathers, following the same process. Take your time and be patient, as this step requires attention to detail.
Adding Texture and Shadows
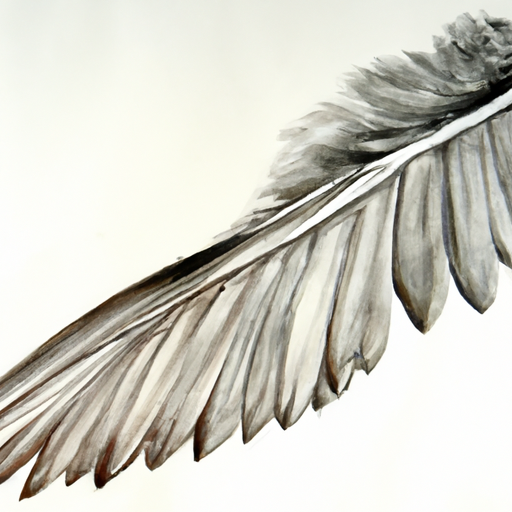
To enhance the realism of your wing drawing, add texture and shadows to the feathers. Texture can be achieved by adding tiny lines or strokes along the shaft of each feather, simulating the texture of barbs and barbules. Shadows can be created by adding darker tones to areas where feathers overlap or cast shadows onto one another. Gradually build up the darkness of the shadows, using hatching or cross-hatching techniques to create depth and dimension.
Exploring Different Wing Positions
Wings can be depicted in various positions, each conveying a different mood or stage of flight. Here are a few examples to explore:
Classic Spread Wings
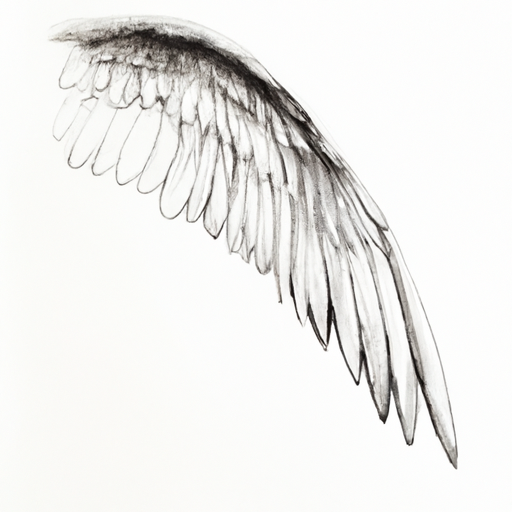
The classic spread wings position is commonly associated with birds in mid-flight. To draw spread wings, focus on achieving a smooth and balanced wing structure. Ensure that each feather is depicted with the appropriate curvature and alignment. Pay attention to the spacing between feathers, as evenly spaced feathers will create a more realistic look.
Folded Wings
Folded wings convey rest or perching positions. When drawing folded wings, emphasize the folding points and the overlapping feathers. Render each feather with gentle curves, showing their natural resting position. Take care to maintain the overall shape and proportion of the wings even when folded, as this will contribute to the realism of your drawing.
In-flight Wings
Capturing the motion of in-flight wings adds a sense of dynamism and energy to your drawing. To achieve this, depict the primary feathers in an upward or downward position, depending on the wing’s movement. Exaggerate the curves and angles of the feathers to showcase the motion and power inherent in the creature’s flight.
Capturing Realistic Feathers
Drawing feathers can be challenging, but with practice and attention to detail, you can produce realistic and stunning results.
Drawing Feather Groups
When drawing a large surface of feathers, it’s helpful to first define the primary feather groups. These groups consist of a few feathers that share similar sizes and angles. Start by sketching these larger feathers, paying attention to the direction and placement of each feather within the group. Once the primary feathers are in place, add the secondary feathers, filling in the gaps to create a realistic feather pattern.
Creating Feather Texture
To capture the delicate texture of feathers, use short, controlled strokes to add tiny lines along the shaft of each feather. These lines should follow the natural curvature of the feather and be applied sparingly to avoid overwhelming the drawing. Focus on the areas of the feather that catch the light, as this will create a sense of depth and realism.
Feather Tips and Edges
To add realism to your wing drawing, pay attention to the tips and edges of the feathers. Feather tips are usually slightly pointed and can be emphasized by drawing tiny curves or using a slightly darker tone. Feather edges, on the other hand, should be slightly uneven to mimic the natural fraying and wear that occurs over time. By adding these small details, you will elevate your wing drawing to the next level.
Mastering Light and Shadows
Proper shading and understanding light sources are key to creating depth and realism in your wing drawings.
Understanding Light Sources
Before you begin shading your wings, determine the primary light source in your drawing. This will dictate where shadows fall and how highlights are added. Always keep the direction and intensity of the light source consistent throughout your drawing.
Shading Techniques for Wings
To shade wings realistically, use a combination of hatching, cross-hatching, and stippling techniques. Start by adding a base layer of shading to establish the overall tonal values. Pay attention to the curves and contours of the wings, shading darker areas where feathers overlap or cast shadows. Gradually build up the darkness and intensity of the shading, blending the lines and strokes to create a smooth transition between light and dark.
Creating Depth and Dimension
To enhance the three-dimensional quality of your wing drawing, focus on creating depth and dimension through shading. This can be achieved by observing the natural contours and form of the wing, then applying shading to highlight the curves and create volume. By carefully considering the light source, shadows, and highlights, you will bring your wing drawing to life.
Adding Color and Gradient
If you prefer to add color to your wing drawings, here are some tips to achieve a beautiful and realistic result.
Choosing a Color Palette
When selecting colors for your wings, consider the species you are drawing and try to replicate their natural coloration. Research reference images or observe wings in nature to accurately depict color patterns. Take note of the hues, saturation, and value of the colors used in the wings. Use a color palette that complements and harmonizes with the rest of your drawing.
Gradient Techniques for Wings
Creating smooth gradients can bring depth and dimension to your wing drawings. Start by establishing the base color of the wings, then gradually transition to darker or lighter tones to depict shadows and highlights. Use soft blending techniques such as layering, blending with a blending stump, or using a brush to achieve smooth transitions between colors.
Blending Colors Smoothly
To create a realistic and harmonious color scheme, it’s essential to blend colors smoothly. When using colored pencils, layer colors gradually and blend them with a blending stump or a soft brush. This will create a subtle gradient effect and make your wing drawing appear more polished and professional.
Highlighting and Reflections
Adding highlights and reflections to your wing drawing will make it come alive and add an extra touch of realism.
Adding Highlights to the Wing
Highlights represent areas where light is directly hitting the wing’s surface. Use a white colored pencil or an eraser to create small, bright dots or lines to indicate these highlights. Pay attention to the direction and intensity of the light source when placing highlights. By adding highlights strategically, you will enhance the three-dimensional quality of your drawing.
Creating Reflections on the Surface
If you’re drawing a bird or insect with glossy wings, you can add reflections to simulate the reflective nature of their surfaces. Use a light touch of a white colored pencil or an eraser to create small, curved shapes or lines that imitate the reflections of the surrounding environment. These reflections will add a touch of realism and visual interest to your wing drawing.
Bringing Depth with Highlights
In addition to creating highlights and reflections, using different values of white can bring depth to your wing drawing. By layering various shades of white, you can create a subtle gradient that enhances the depth and dimension of the feathers. Experiment with different pressures and blending techniques to achieve the desired result.
Adding Final Touches
You’re almost done with your wing drawing! Before you put down your pencil, there are a few final touches that will take your drawing to the next level.
Adjusting Contrast and Saturation
Evaluate your drawing’s contrast and saturation levels. To increase contrast, darken the shadows and intensify the highlights. By adjusting the contrast, you can enhance the overall depth and realism of your wing drawing. Saturation levels can also be adjusted to make the colors more vibrant or muted, depending on the desired effect.
Refining Details and Edges
Take a critical look at your wing drawing and refine any details or edges that need improvement. Use a sharper pencil to add fine details, such as individual barbs on the feathers or small textures. Pay attention to the smoothness of the lines and shapes, and correct any jagged or uneven edges that may distract from the overall quality of your drawing.
Cleaning Up the Drawing
Lastly, clean up your drawing by erasing any stray lines, smudges, or unwanted marks. Use a clean eraser to gently remove any pencil marks that may have accidentally transferred to areas where they are not needed. This final step will give your wing drawing a polished and professional appearance.
Conclusion
Congratulations! You have successfully learned how to draw wings step by step. Remember, drawing wings is a skill that improves with practice, so don’t get discouraged if your initial attempts don’t meet your expectations. Continue to study reference images, practice different techniques, and experiment with different wing positions and species. With time and dedication, you will become more confident and skilled in drawing wings, unlocking endless possibilities for your artistic endeavors. So keep spreading your artistic wings and let your creativity soar!


