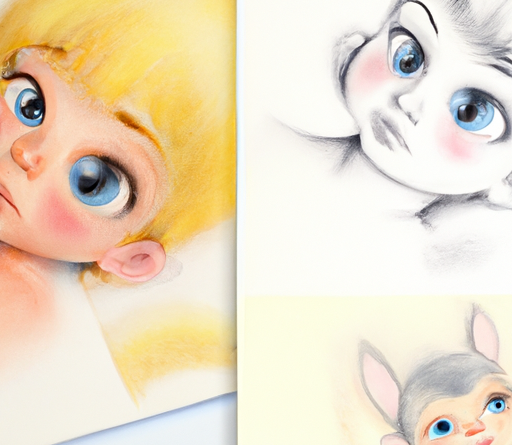
Have you ever wanted to learn how to draw a doll? Maybe you have a favorite doll from your childhood and you want to recreate it on paper. Or maybe you want to create a unique doll character for a story or artwork. Whatever the reason, learning how to draw a doll can be a fun and rewarding experience. In this article, we will provide you with a step-by-step guide on how to draw a doll, so get ready to unleash your creativity and let’s get started!
Drawing a doll may seem challenging at first, but with the right techniques, anyone can do it. We will break down the process into simple steps, so don’t worry if you’re a beginner. First, you’ll need to gather your drawing materials – a pencil, eraser, and paper. You may also want to have colored pencils or markers on hand if you want to add some color to your doll. Once you have everything ready, we can move on to the actual drawing process. We will start by sketching out the basic shape of the doll’s body, then adding details such as the face, hair, and clothing. By following our step-by-step instructions, you’ll be able to create a beautiful doll drawing that you can be proud of. So let’s dive into the world of doll drawing and unlock your artistic potential!
Table of Contents
How to Draw a Doll: Step-by-Step Guide
Welcome to this step-by-step guide on how to draw a doll from scratch. Whether you are a beginner or an experienced artist looking to explore a new subject, this tutorial will walk you through the process of creating a beautifully detailed doll drawing. So let’s get started!
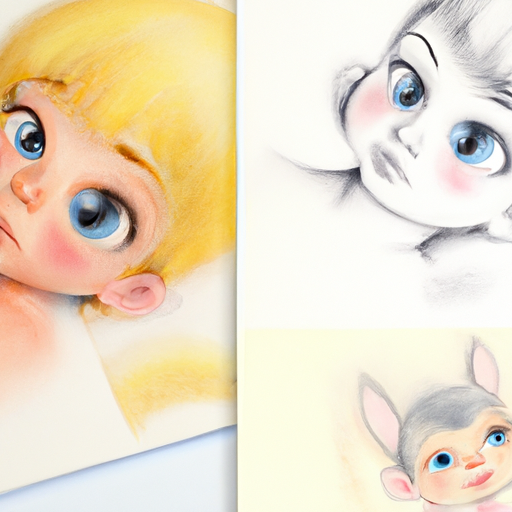
Choosing the Right Materials
To begin your doll drawing, it’s essential to choose the right materials. Here are some tips for selecting the perfect supplies:
Selecting the Right Paper
Using the right type of paper is crucial for a successful doll drawing. Opt for a smooth, heavyweight paper with good erasability. This will allow you to create detailed lines while providing a sturdy surface to work on.
Choosing the Right Pencils
When it comes to pencils, choose a set of high-quality graphite pencils that range from soft to hard. This variety will allow you to achieve different tones and textures in your drawing.
Using Erasers and Blending Tools
Erasers are essential for correcting mistakes and creating various effects. Invest in a kneaded eraser for lifting graphite and a precision eraser for precise details. Additionally, blending tools such as blending stumps and tortillons will help you achieve smooth transitions and texture in your drawing.
Preparation and Guidelines
Before diving into the specifics of drawing a doll, it’s important to lay the groundwork for your artwork. Here are some preparatory steps to follow:
Creating the Outline
Start by creating a rough outline of the doll’s body proportions using light, loose strokes. This will serve as a guide for the rest of your drawing. Focus on capturing the overall shape and size of the doll.
Using Reference Images
Using reference images is a great way to ensure accuracy and add realism to your drawing. Look for photographs or illustrations of dolls that inspire you and study their features and details. This will help you understand the doll’s anatomy and capture its unique characteristics.
Setting Up Guidelines
To ensure symmetrical and proportionate features, establish guidelines on your drawing surface. Use a ruler or straightedge to create vertical and horizontal lines that intersect at the center of the doll’s face. These guidelines will help you place the facial features correctly and maintain balance in your drawing.
Basic Doll Structure
Now that you have the foundation in place, let’s dive into drawing the basic structure of the doll:
Drawing the Head and Facial Features
Start by sketching the doll’s head, paying close attention to the shape and size established in your outline. Use light, curved strokes to create the contours of the face. Then, using your guidelines, position the eyes, nose, and mouth. Take your time to capture the doll’s unique expression and personality.
Creating the Body Proportions
Move down to the doll’s body and use your outline as a reference to create the correct proportions. Pay attention to the length of the neck, the width of the shoulders, and the overall positioning of the limbs. Use light, flowing lines to create the basic shape of the body.
Sketching the Limbs and Joints
Next, focus on sketching the doll’s limbs and joints. Begin by drawing simple shapes for the arms and legs, gradually refining them to match the doll’s proportions. Pay attention to the position and angle of the joints, as they will add movement and realism to your drawing.
Adding Details
With the basic structure in place, it’s time to bring your doll to life by adding intricate details:
Sketching the Hair and Hair Accessories
Start by sketching the doll’s hair, taking into consideration its length, volume, and texture. Use a combination of short, curved strokes and longer, flowing lines to add depth and realism to the hair. Don’t forget to add any desired hair accessories, such as bows or clips.
Drawing the Eyes, Nose, and Mouth
Now, focus on the doll’s facial features. Pay close attention to the shape and size of the eyes, the positioning of the nose, and the contour of the lips. Use a combination of precise lines and shading techniques to add depth and dimension to these features.
Adding Clothing and Accessories
Lastly, add clothing and accessories to your doll. Pay attention to the fabric’s texture and folds, using shading techniques to create the illusion of depth. Consider adding intricate details such as buttons, ribbons, or lace to enhance the realism of your drawing.
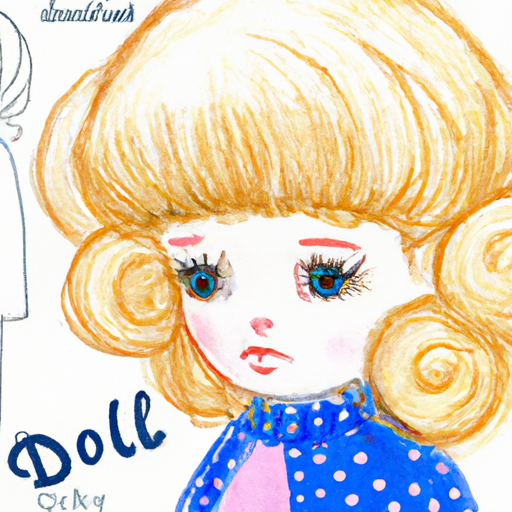
Shading and Texturing
To add depth and dimension to your doll drawing, it’s important to understand light and shadow:
Understanding Light and Shadow
Start by studying how light interacts with different objects and surfaces. Observe how highlights and shadows create form and bring objects to life. Consider the direction of the light source in your drawing and how it affects the doll’s features and clothing.
Adding Depth through Shading
Use shading techniques such as hatching, cross-hatching, and stippling to create volume and form. Make lighter strokes in areas that catch more light and darker strokes in areas that are in shadow. Gradually build up the shading, paying attention to the subtle transitions and contrast between light and dark.
Texturing the Doll’s Features
To add texture to the doll’s features, experiment with different techniques such as stippling, cross-hatching, or creating tiny lines. Pay attention to the texture of the doll’s hair, clothing, and accessories, as these details will add depth and realism to your drawing.
Coloring and Highlights
Adding vibrant colors and highlights can take your doll drawing to the next level:
Choosing the Right Color Palette
Select a color palette that complements the doll’s characteristics and the overall mood of your drawing. Consider the doll’s skin tone, eye color, and clothing when choosing your colors. Experiment with colored pencils or watercolor paints to achieve the desired effect.
Blending Colors and Creating Gradients
To create smooth transitions and gradients, blend your colors together using blending tools or layering techniques. Start with light layers of color, gradually building up intensity and depth. Take your time to achieve a seamless blend that enhances the doll’s features and clothing.
Adding Highlights and Reflections
Finish off your doll drawing by adding highlights and reflections. Use white or light-colored pencils or paints to create areas of light on the doll’s face, hair, and clothing. Pay attention to how light interacts with different surfaces and add these touches accordingly.
Finalizing the Drawing
As you near the completion of your doll drawing, there are a few final touches to consider:
Cleaning up the Lines
Carefully evaluate your drawing and clean up any stray or unnecessary lines. Use an eraser to gently remove any unwanted marks, ensuring that your drawing looks clean and polished.
Adding Final Touches and Details
Take a step back and evaluate your drawing as a whole. Look for any areas that need additional attention or refinement. Add any final details, such as subtle highlights, shadows, or textures, to bring your doll drawing to life.
Enhancing the Overall Composition
Consider the composition of your drawing as a whole. Ensure that all elements are balanced and harmonious. Adjust any areas that feel out of place or disproportionate. Make any final adjustments necessary to ensure a visually pleasing and well-composed doll drawing.
Incorporating Background
To create a more dynamic and complete drawing, consider adding a background:
Designing a Suitable Background
Choose a background that complements the doll’s appearance and adds depth to the scene. It could be a simple backdrop, a specific setting, or an abstract design. Use your imagination and creativity to enhance the overall storytelling of your drawing.
Adding Depth and Perspective to the Scene
When adding a background, consider the principles of depth and perspective. Use techniques such as overlapping, diminishing size, and atmospheric perspective to create the illusion of distance and three-dimensionality. This will make your drawing feel more immersive and realistic.
Incorporating Relevant Elements
Think about elements that could enhance the narrative and mood of your doll drawing. It could be additional objects, supporting characters, or symbolic elements that add meaning to your artwork. Be intentional with your choices, ensuring that they enhance the overall composition.
Personalizing the Doll
Your doll drawing is the perfect opportunity to infuse your unique style and personality:
Adding Unique Features and Characteristics
Consider adding unique features and characteristics that make the doll your own. It could be adding freckles, birthmarks, or scars that add personality to your drawing. Personalize the doll to reflect your artistic voice and vision.
Customizing the Doll’s Appearance
Experiment with different hairstyles, clothing styles, or accessories to customize the doll’s appearance. Let your creativity run wild and create a doll that feels truly special and representative of your artistic expression.
Infusing Personality into the Drawing
If you’re feeling adventurous, consider infusing your doll drawing with emotions and personality. Experiment with different facial expressions, body language, or poses to create a story within your drawing. Challenge yourself to create an emotional connection between the viewer and your doll.
Conclusion
Congratulations on completing your step-by-step guide on how to draw a doll! By following this comprehensive tutorial, you’ve learned all the essential techniques and tips to create a stunning doll drawing. Remember to review the step-by-step process whenever you need guidance and advice.
Now it’s time to let your creativity soar and continue experimenting with different subjects and styles. Remember, drawing is a journey, and each artwork is an opportunity for growth and self-expression. Enjoy the process and be proud of your artistic accomplishments!


